
By using some scrap material, fabric from old clothes or really any fabric… you can make a gorgeous hair bow in no time! Try different materials- some that fray, some that don’t… they both give a unique look to the flower.
Materials to gather:
fabric- enough to make 4-6 circles
hot glue
needle/ thread of similar color to fabric
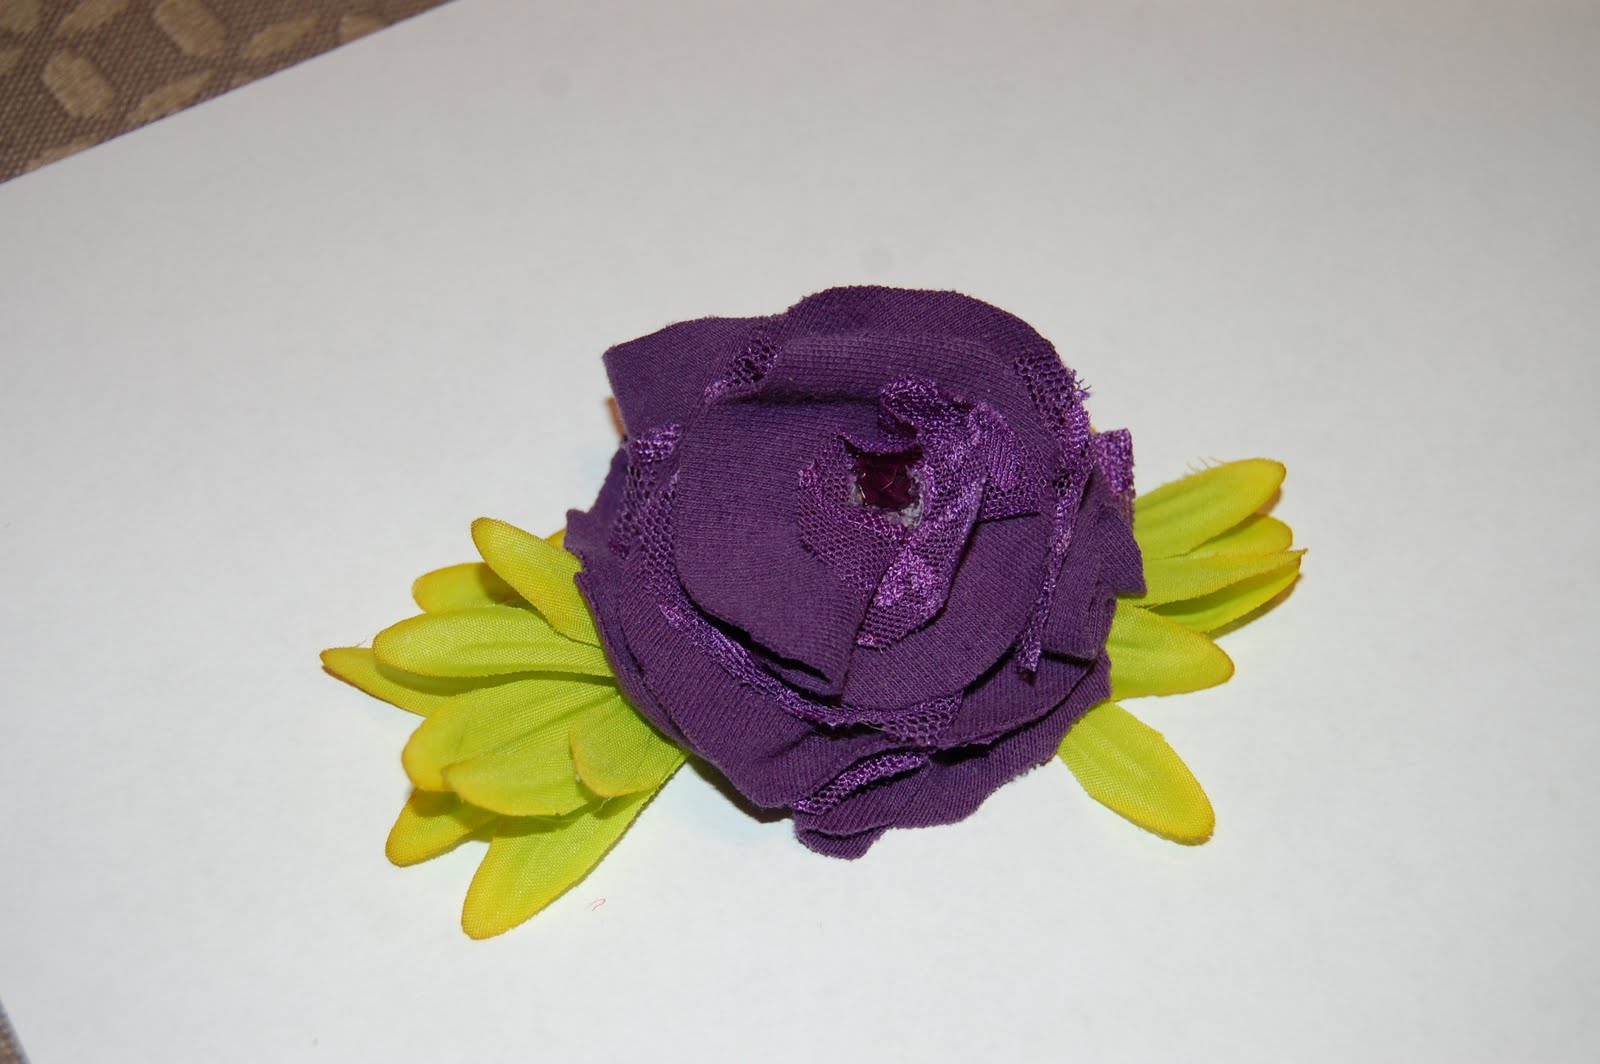
any embellishments that you want- I used a green daisy for leaves and a little bead for the middle.
Ribbon covered alligator clip as seen on my other tutorial here
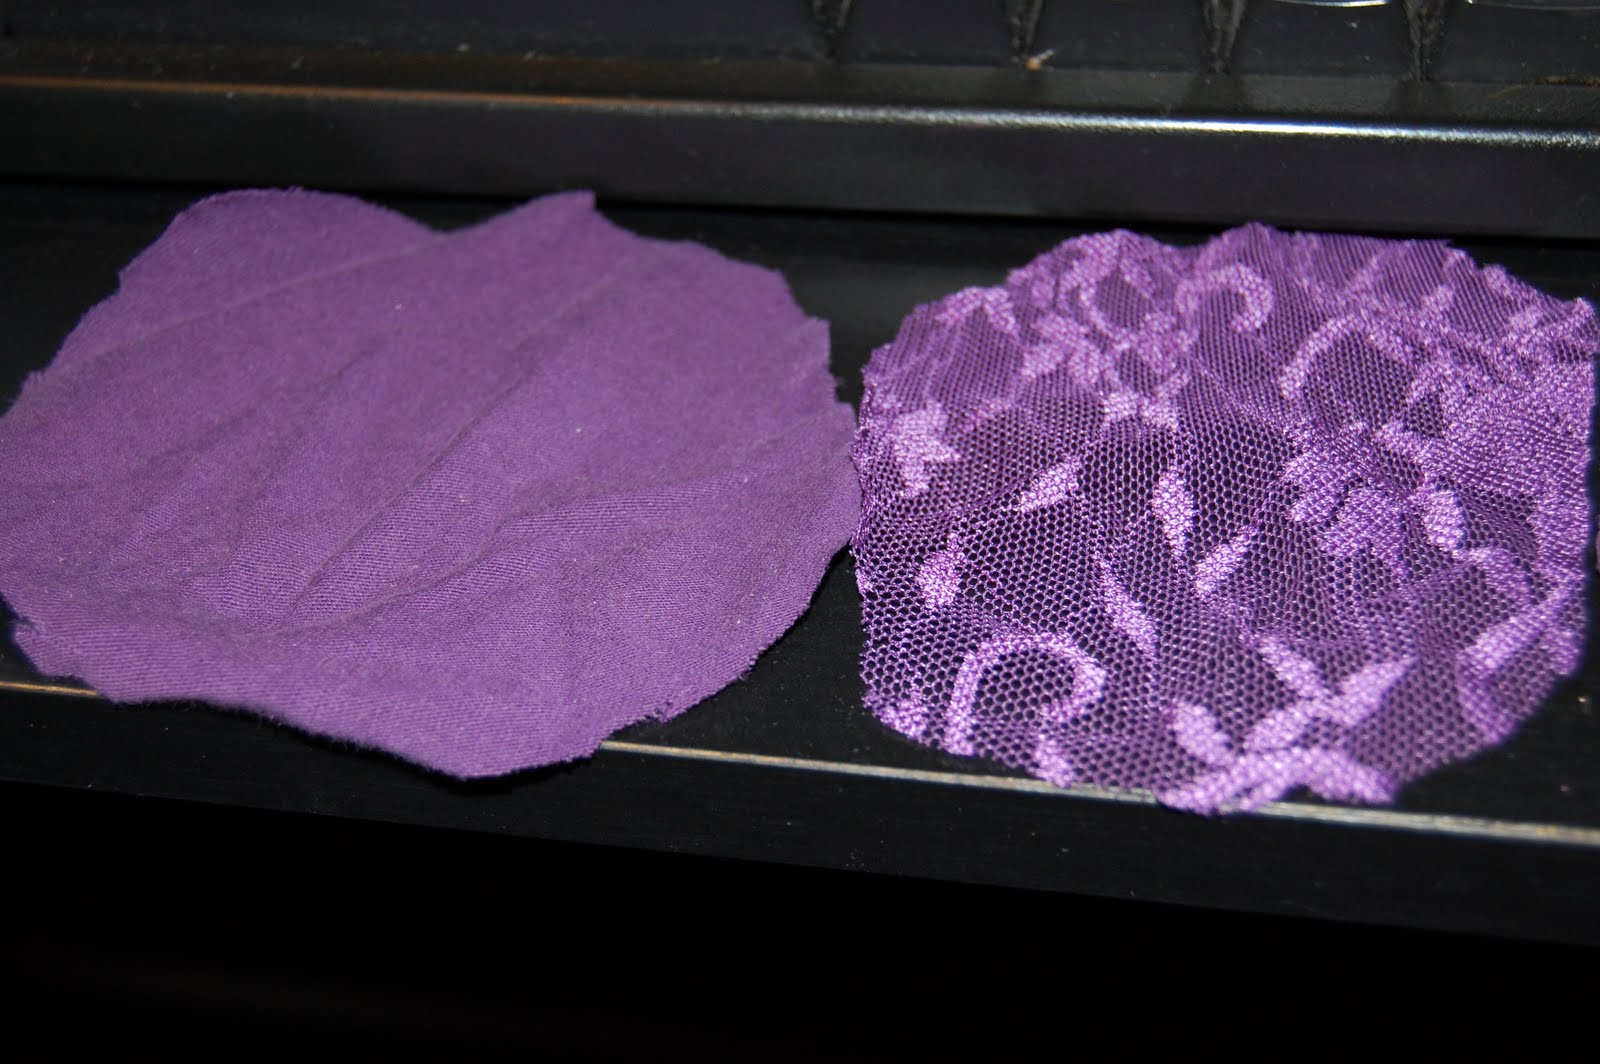
Start out by making 2 large circles (about 4 inches)- the second one slightly smaller (I used 2 different fabrics for this flower) They don’t have to be perfect… it fact I think it looks better slightly off!
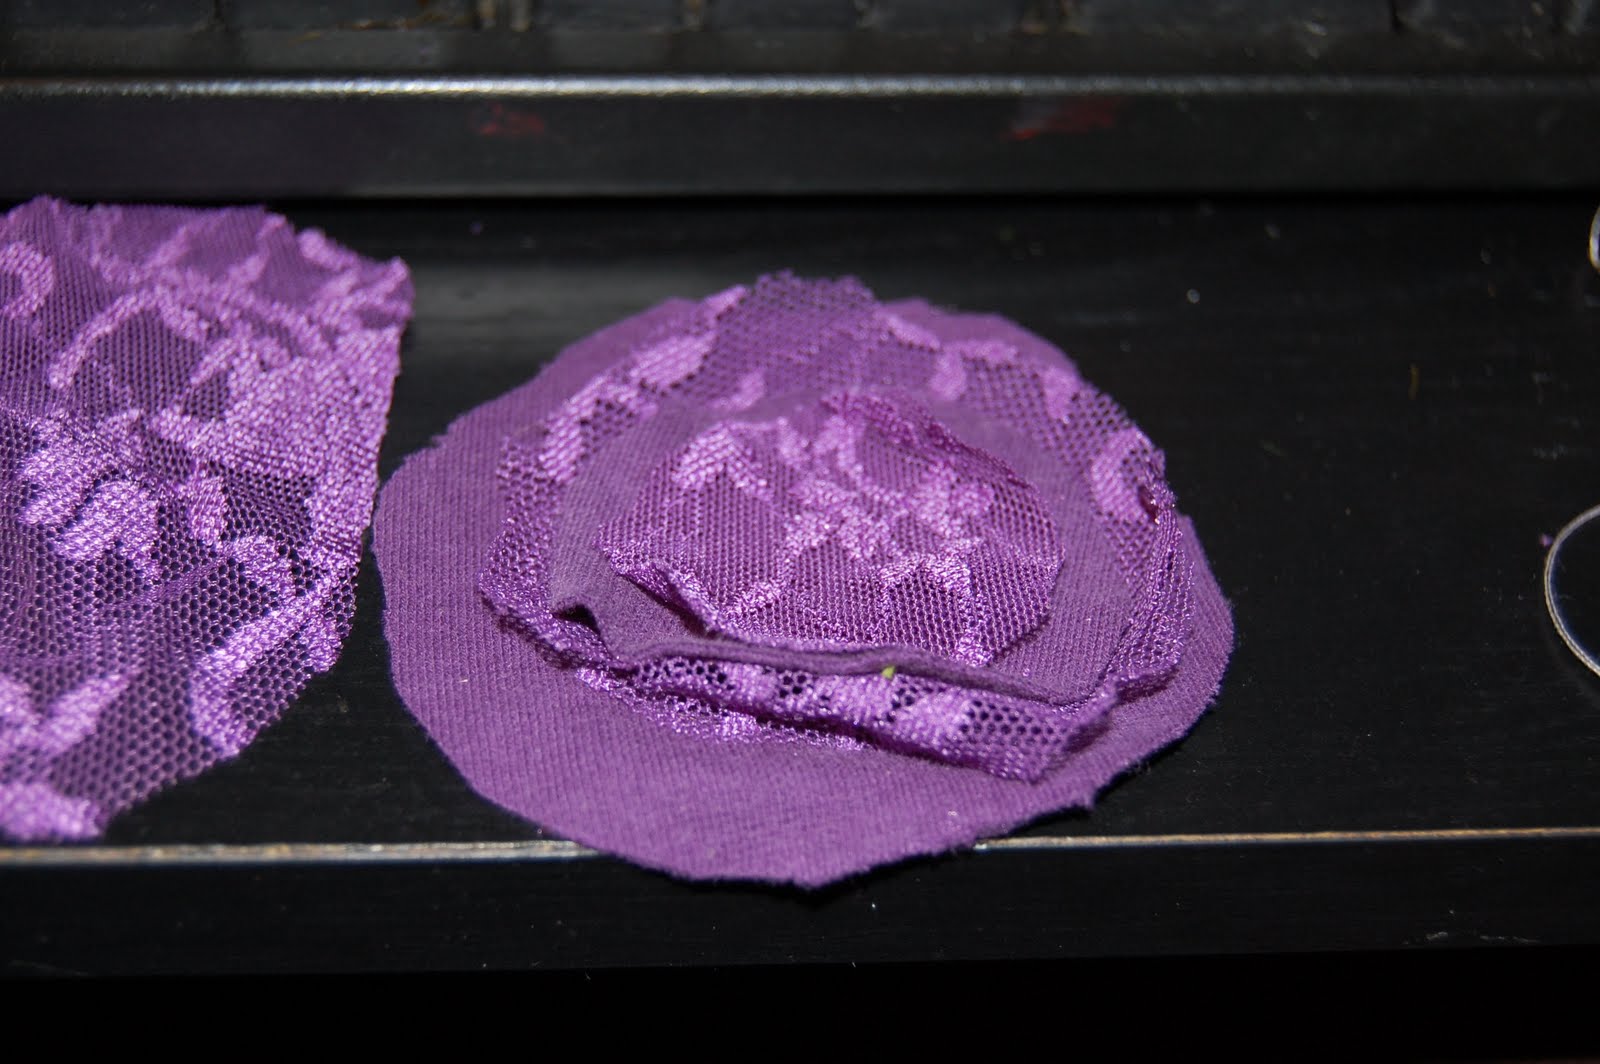
Now keep making circles that are getting smaller and smaller until you reach about 6 circles.
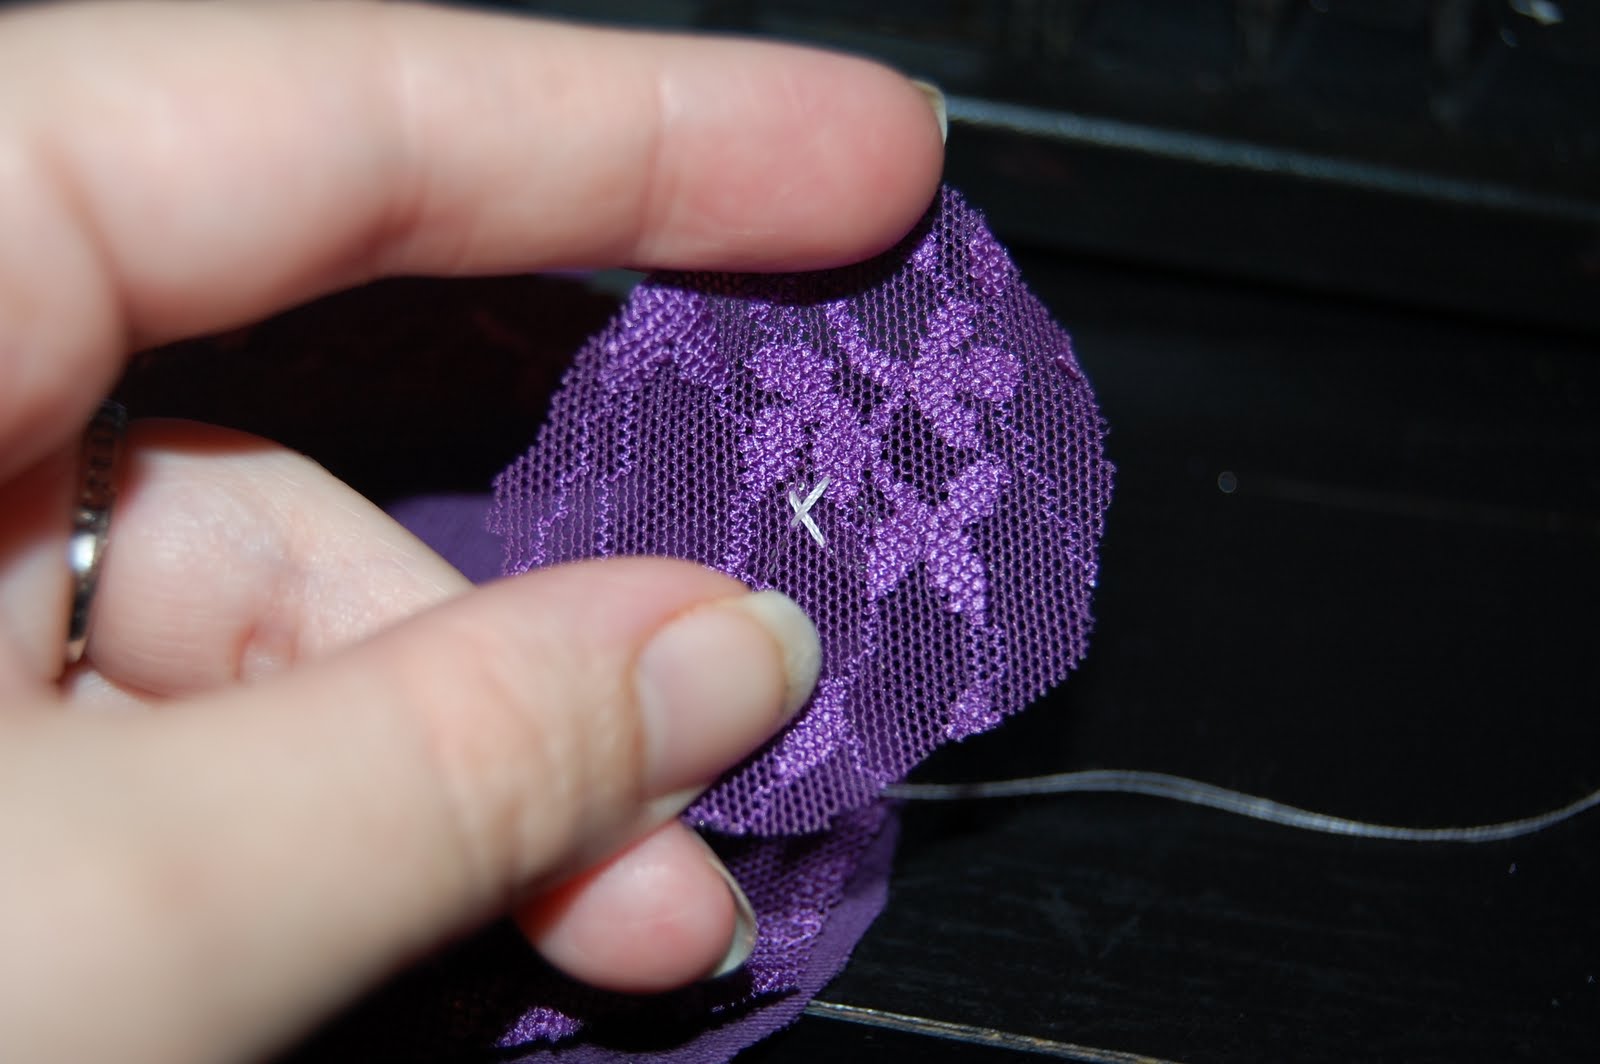
Take your smallest circle and sew and X in the middle…
Now sew together the next size up with the one you just made the X with.
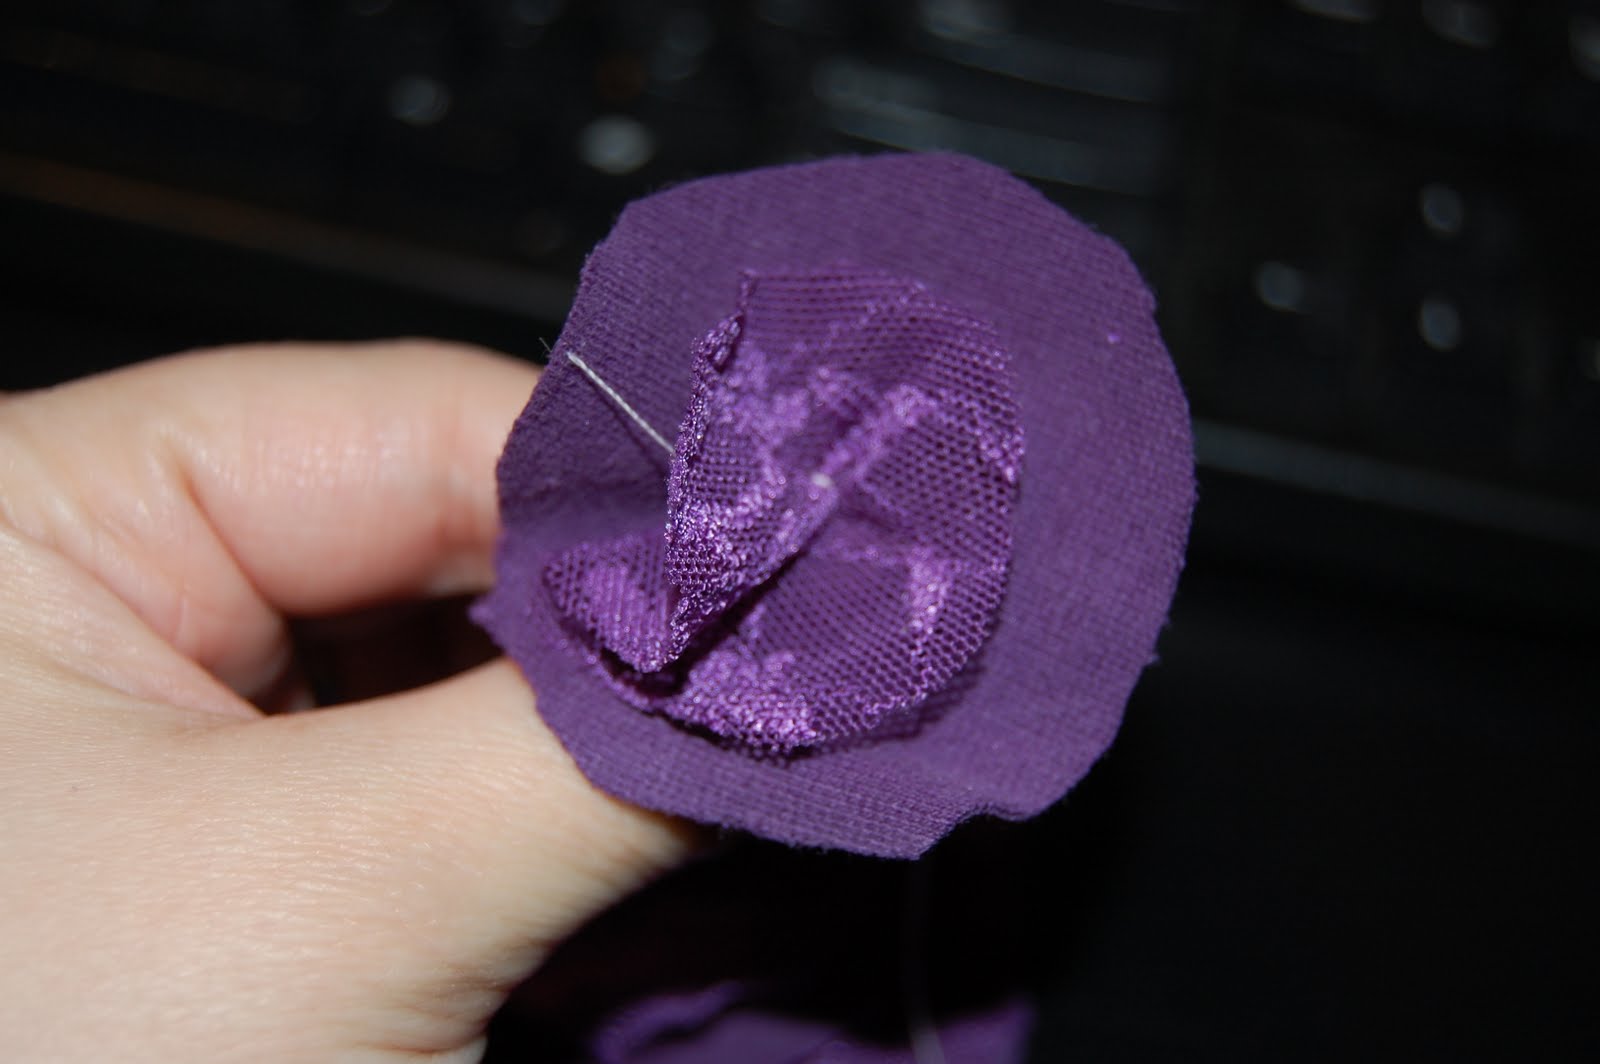
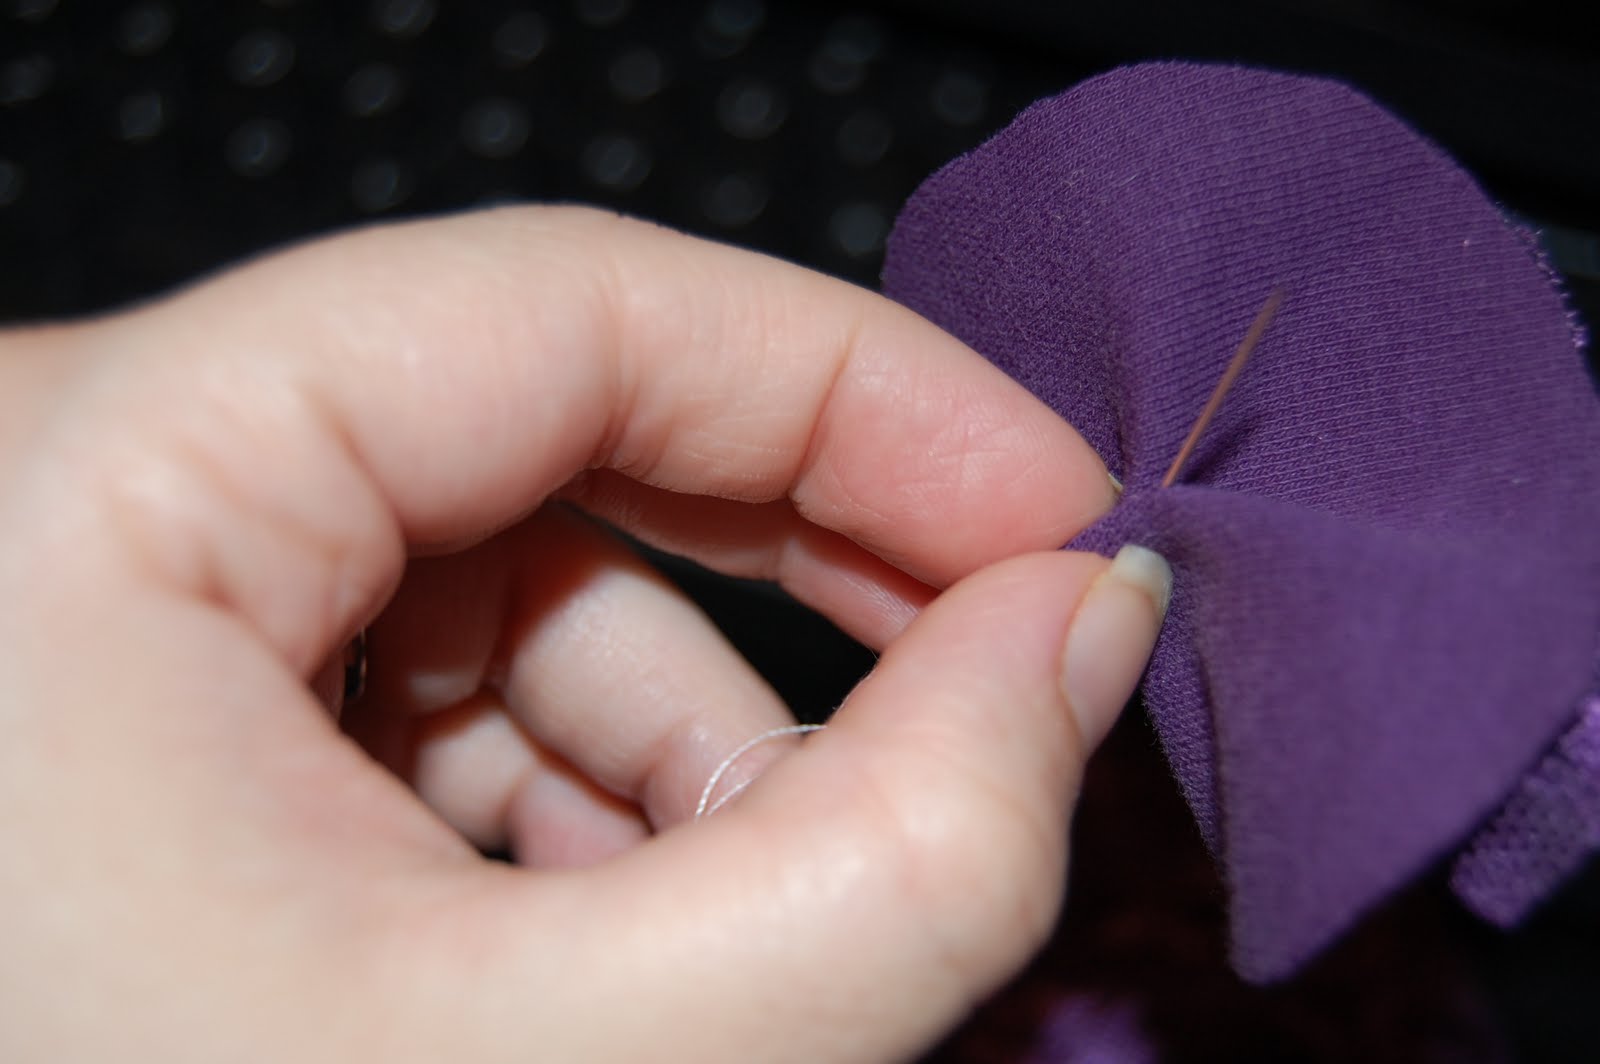
Now for the trickiest part- not really tricky, but it helps to know a bit about sewing here… you want to make gathers/ puckers from the middle and sew it secure- be sure to keep your stitches in the middle or they will show. You will be doing this to each layer from here on out… so once you have the gathers the way you like them- start sewing on the next size circle and do the same…
You should end up with something like this! It really goes quickly once you get the hang of the gathers… You can leave your flower like this- or put some embellishments on it. I sewed a bead in the middle at this point…
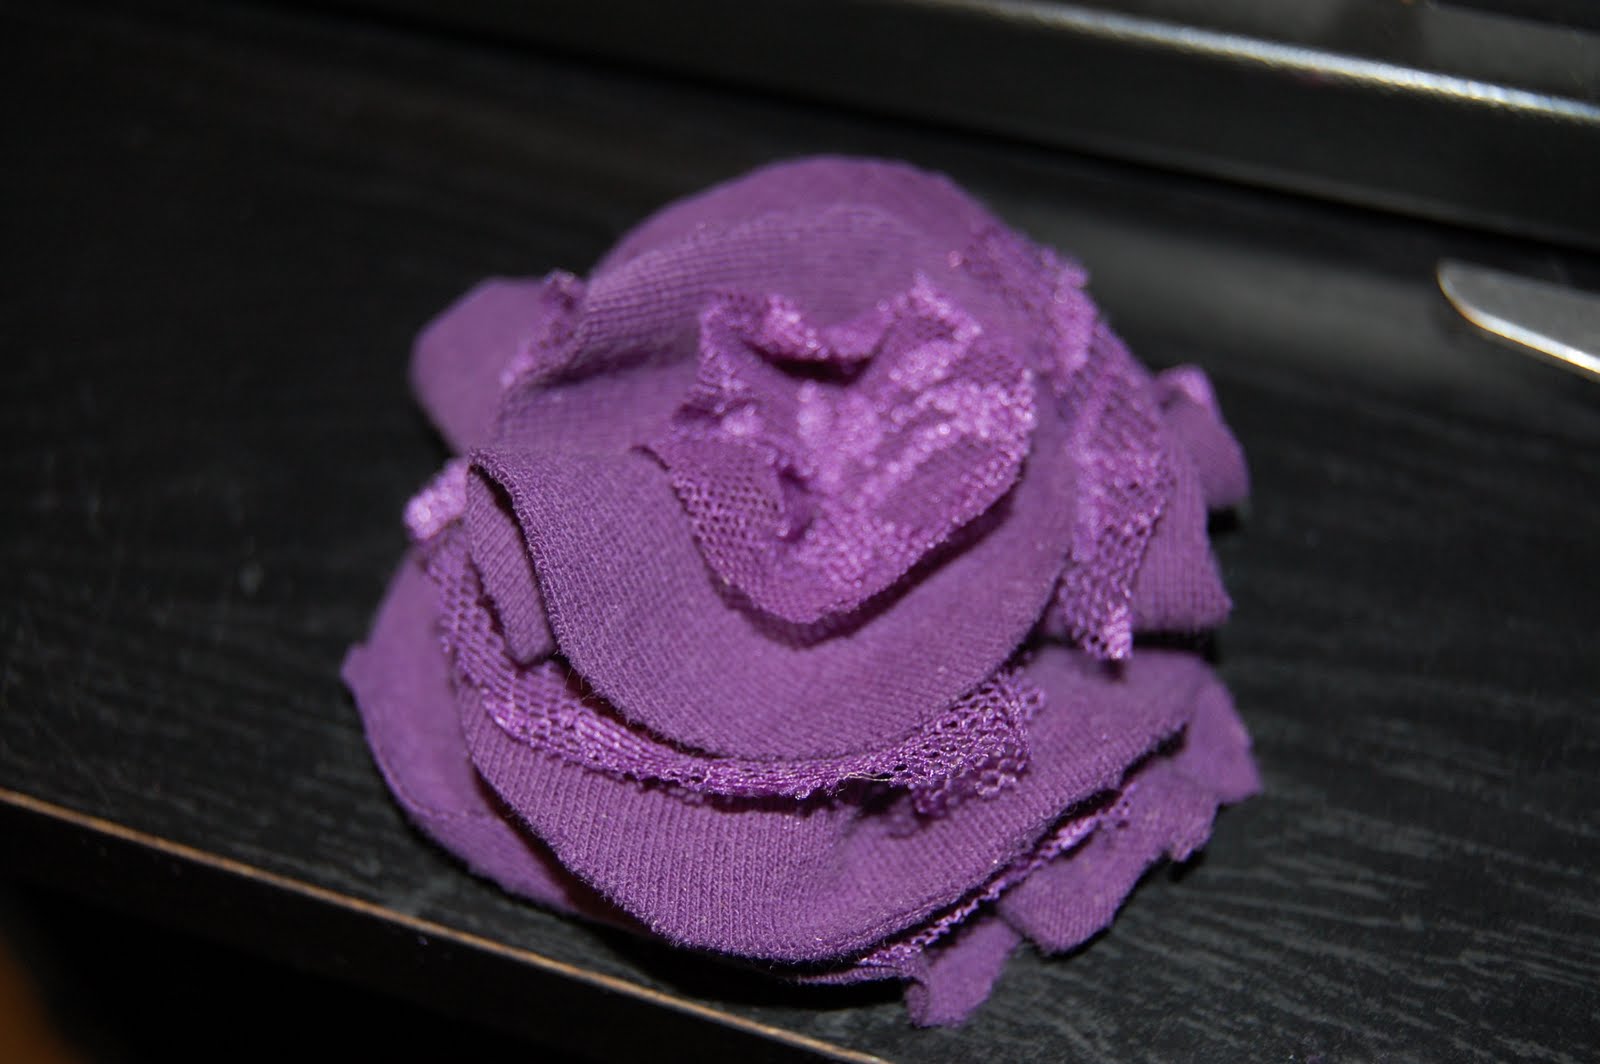
I also had a left-over daisy layer from another project that I wrapped up and glued on the back of the flower. From there I attached my ribbon covered clip with hot glue on the back…

And the final result!
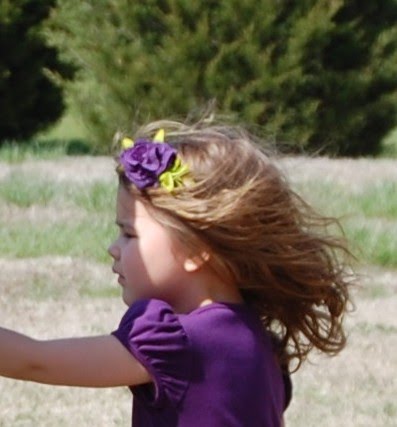
Very elegant!!! If you use this tutorial be sure to let me see your final results… just click the link below and submit!!!
kim
Monday 12th of April 2010
oh, this is gorgeous! thanks for the tutorial!
Sari
Wednesday 18th of July 2012
Omg, it's cute! Thanks for sharing!