Skip to Content

Tutorial: Diaper Bag from Drab to Fab!

Yes, I am THAT girl.  I’ve tried to deny it before, but honestly I have always been a “girly” girl!  My mom says that in kindergarten I refused to wear pants of any kind opting for dresses and skirts.  I never wore a pair of jeans until 4th grade!  Luckily a few of my friends convinced me that you can wear pants and still look cute.  I still secretly had a thing for getting all dressed up and I still do!

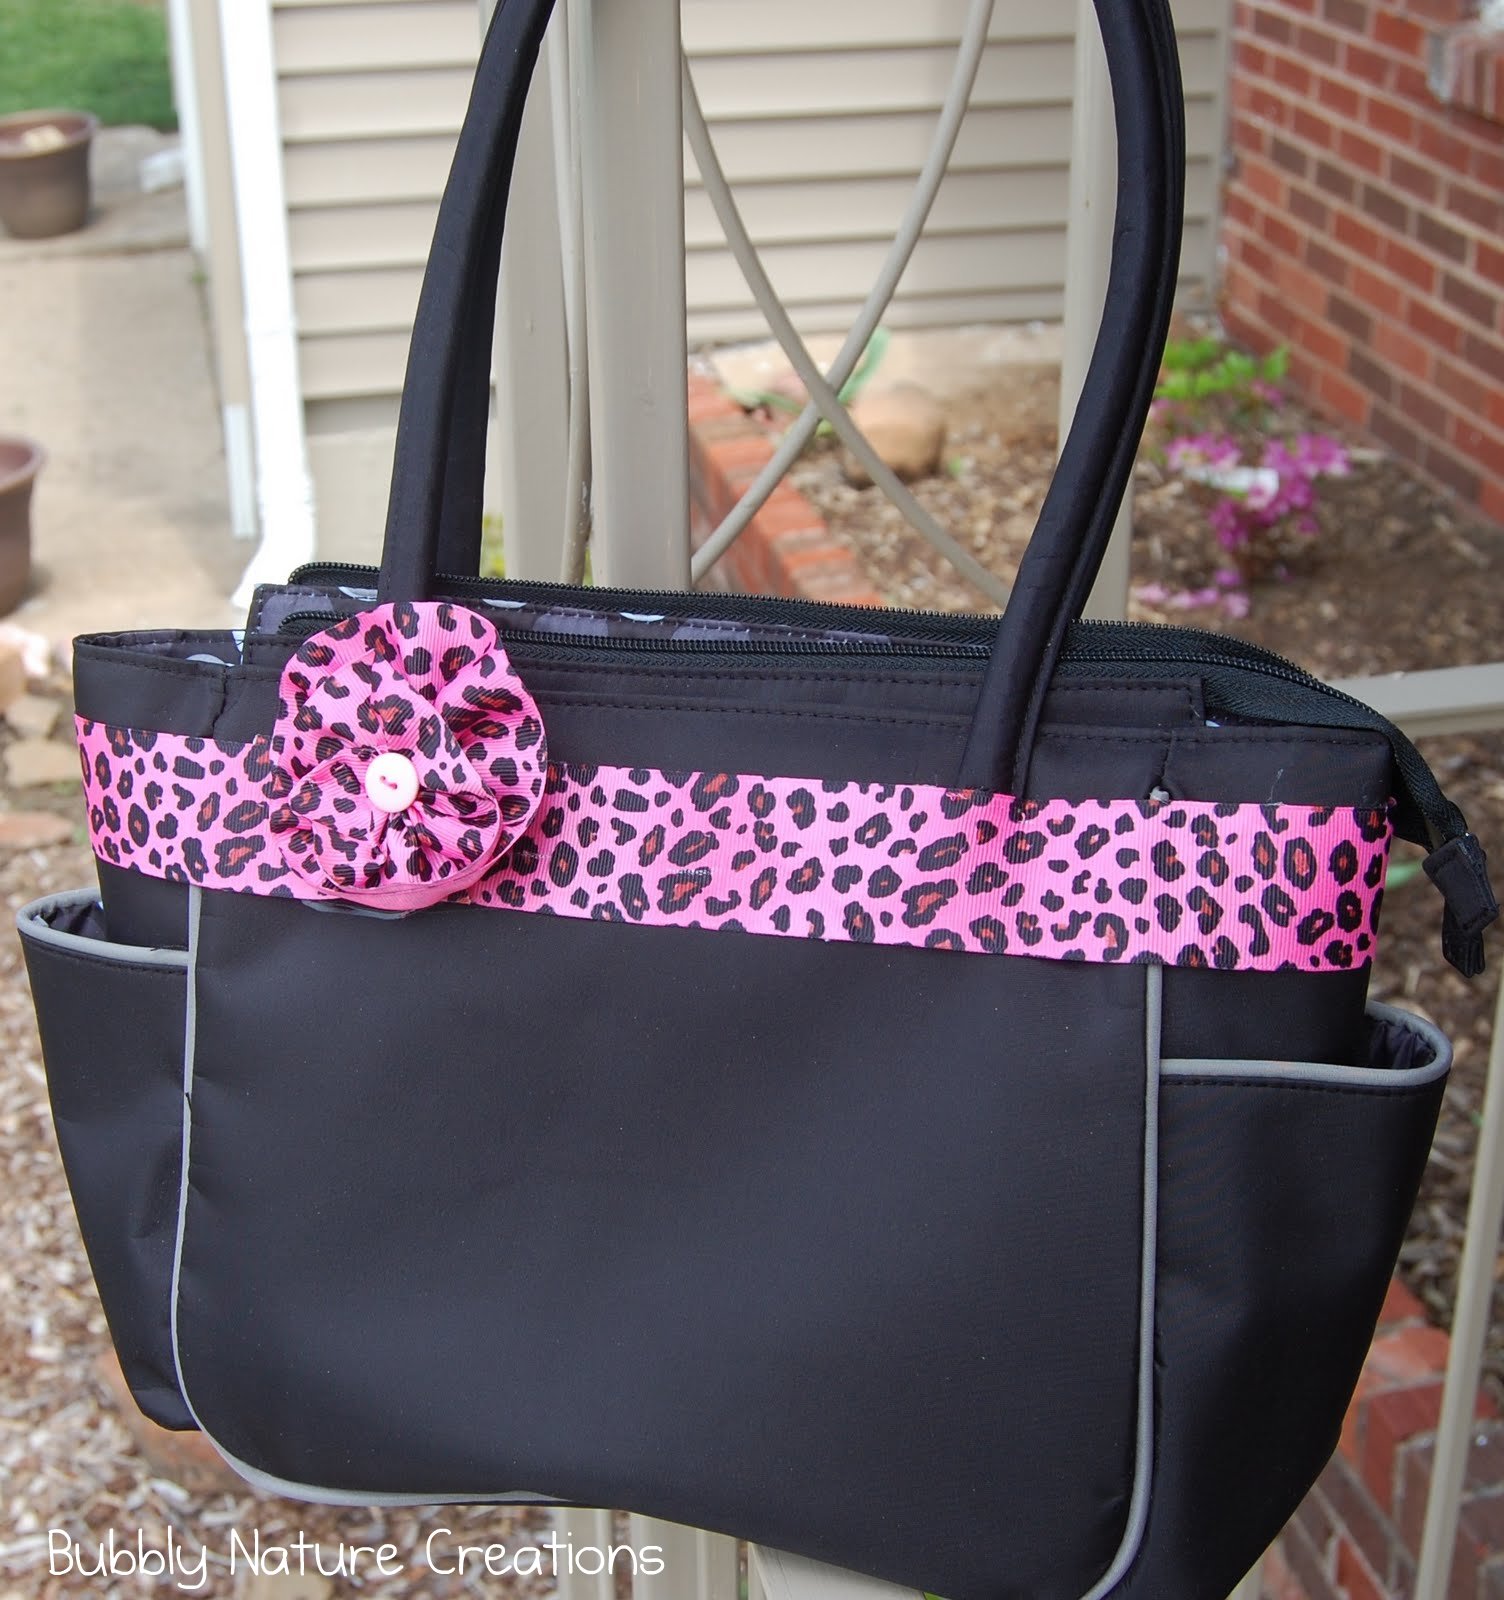
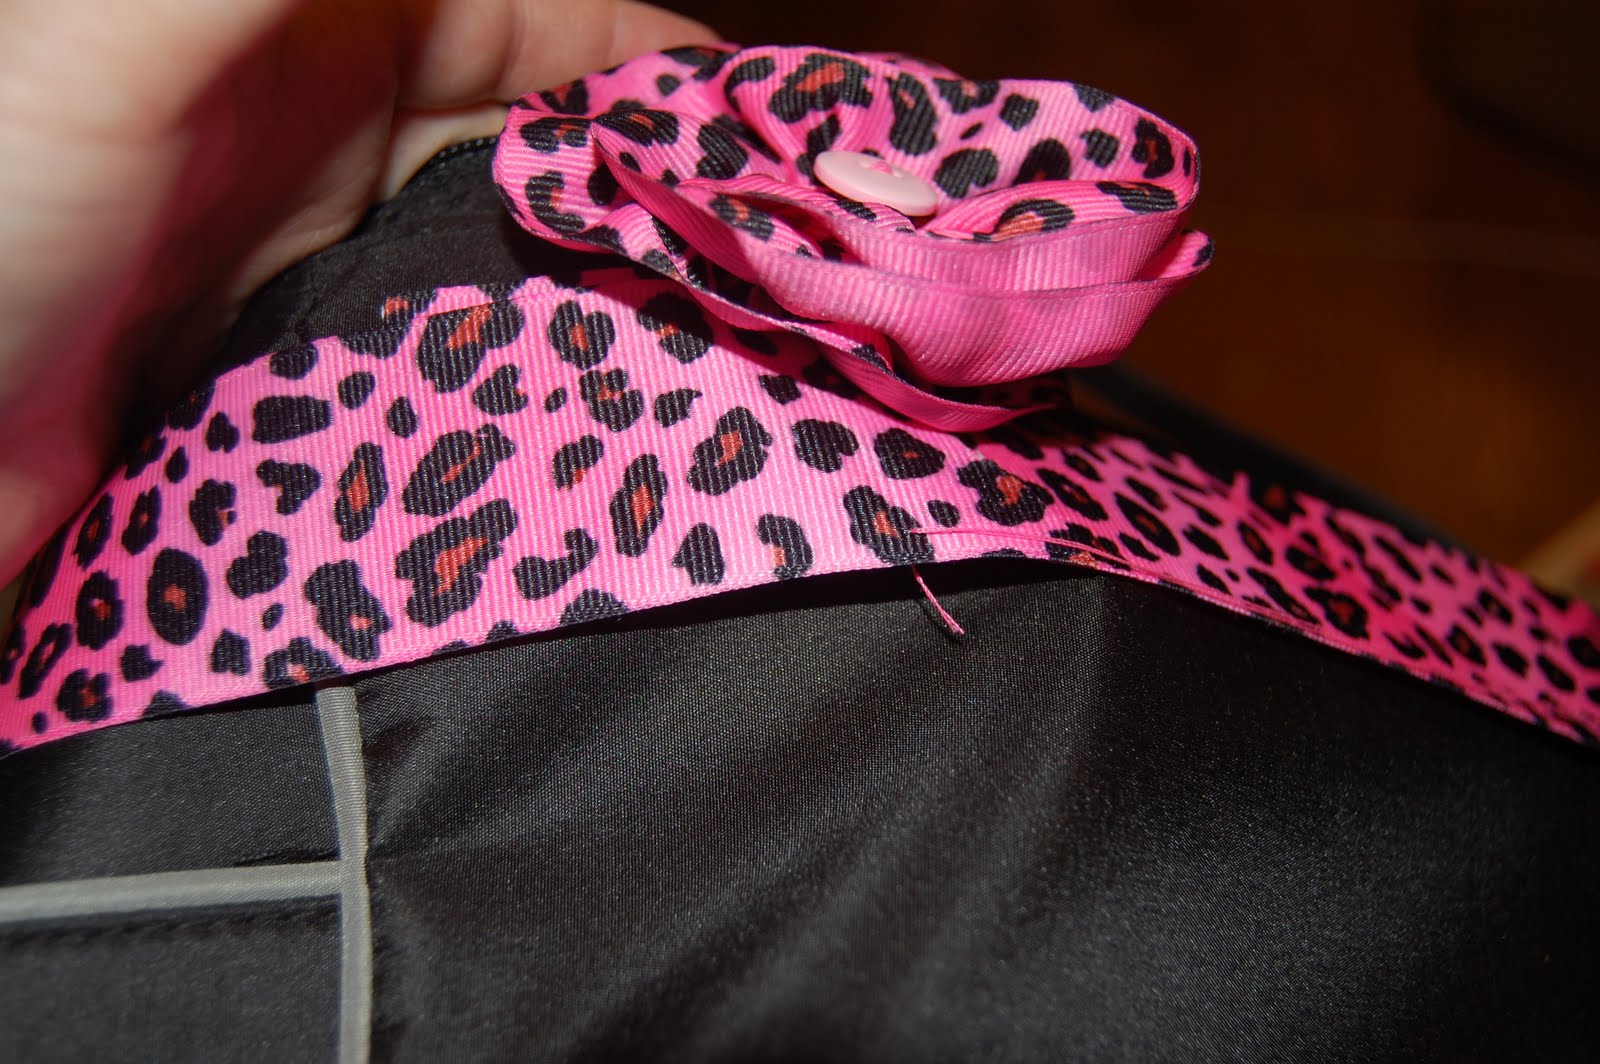
So all that to say that it should come as no surprise that when I received this free diaper bag from Babies R Us (with my purchase) I immediately began thinking of ways that I could dress it up.  This is what I came up with!

Just some ribbon, thread and glue!  Here is how I did it!

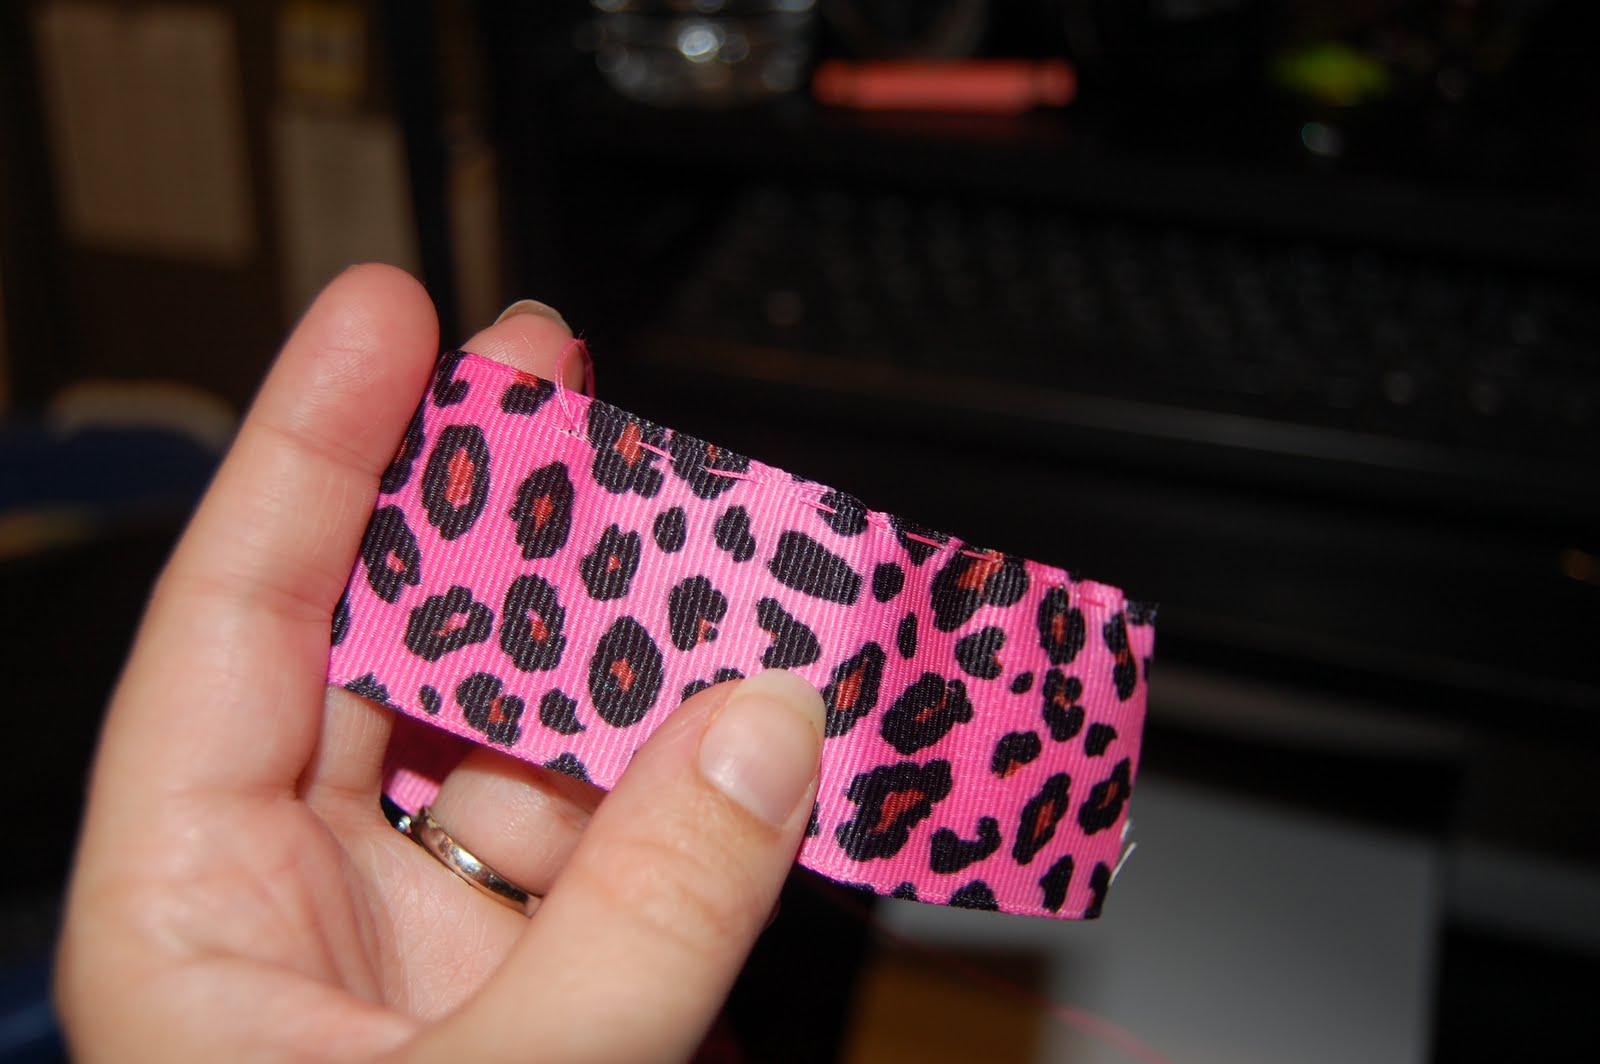
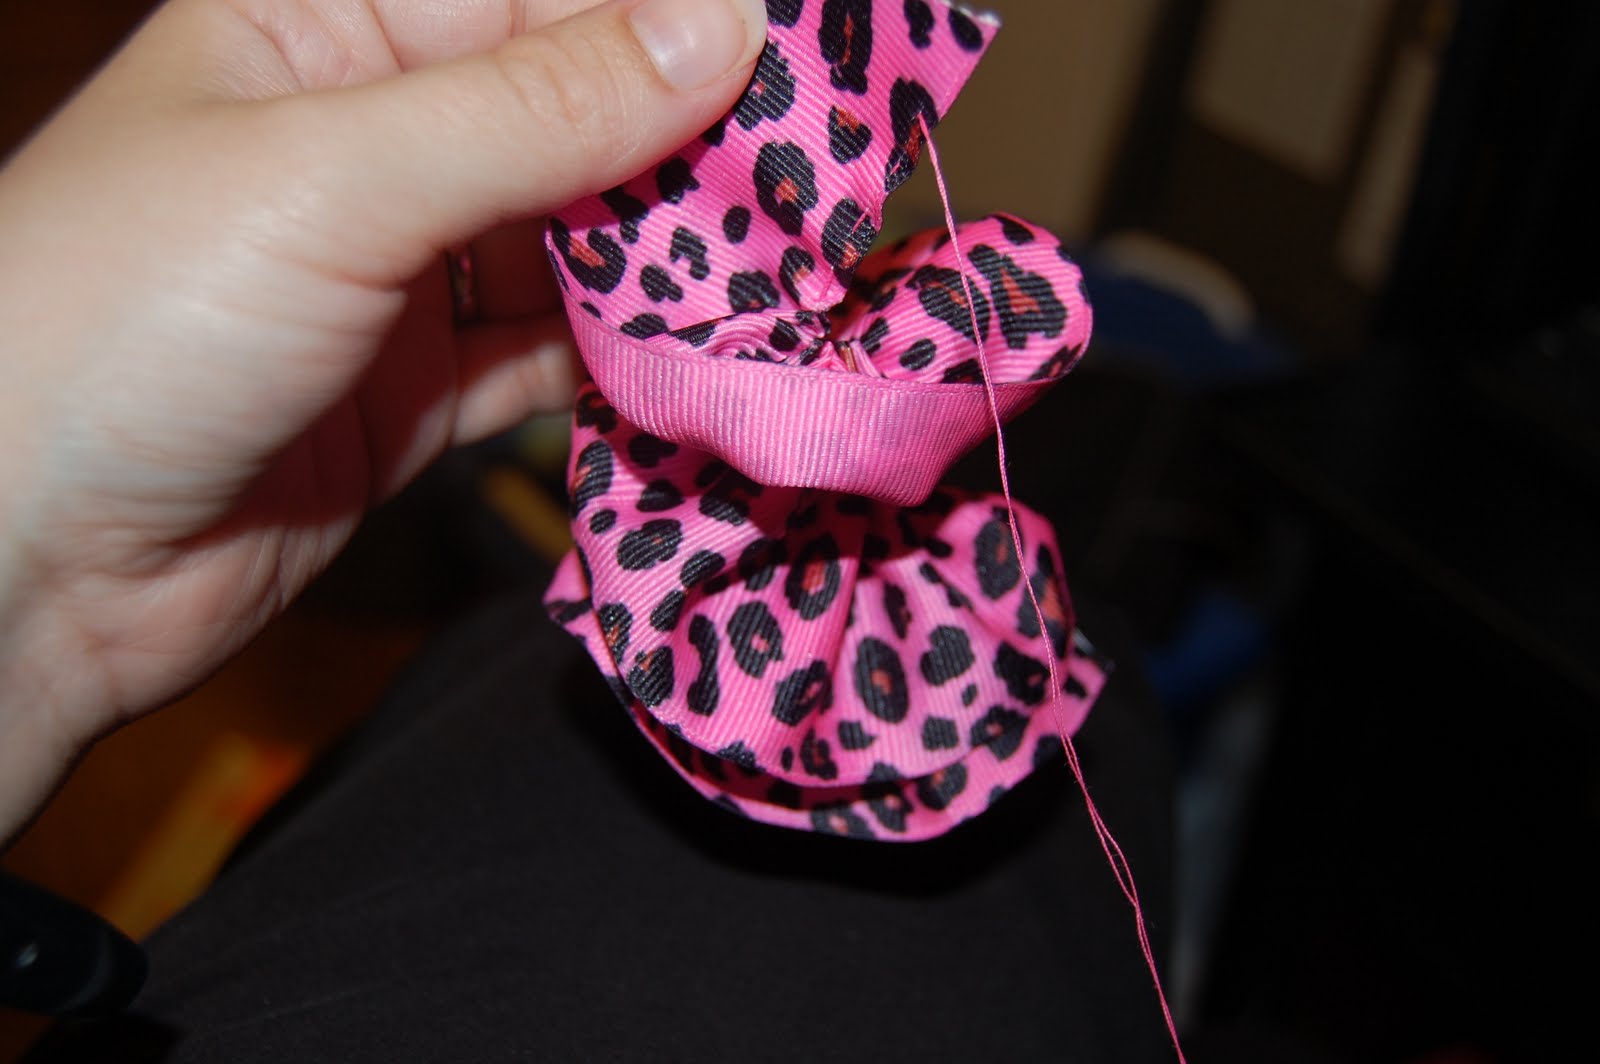
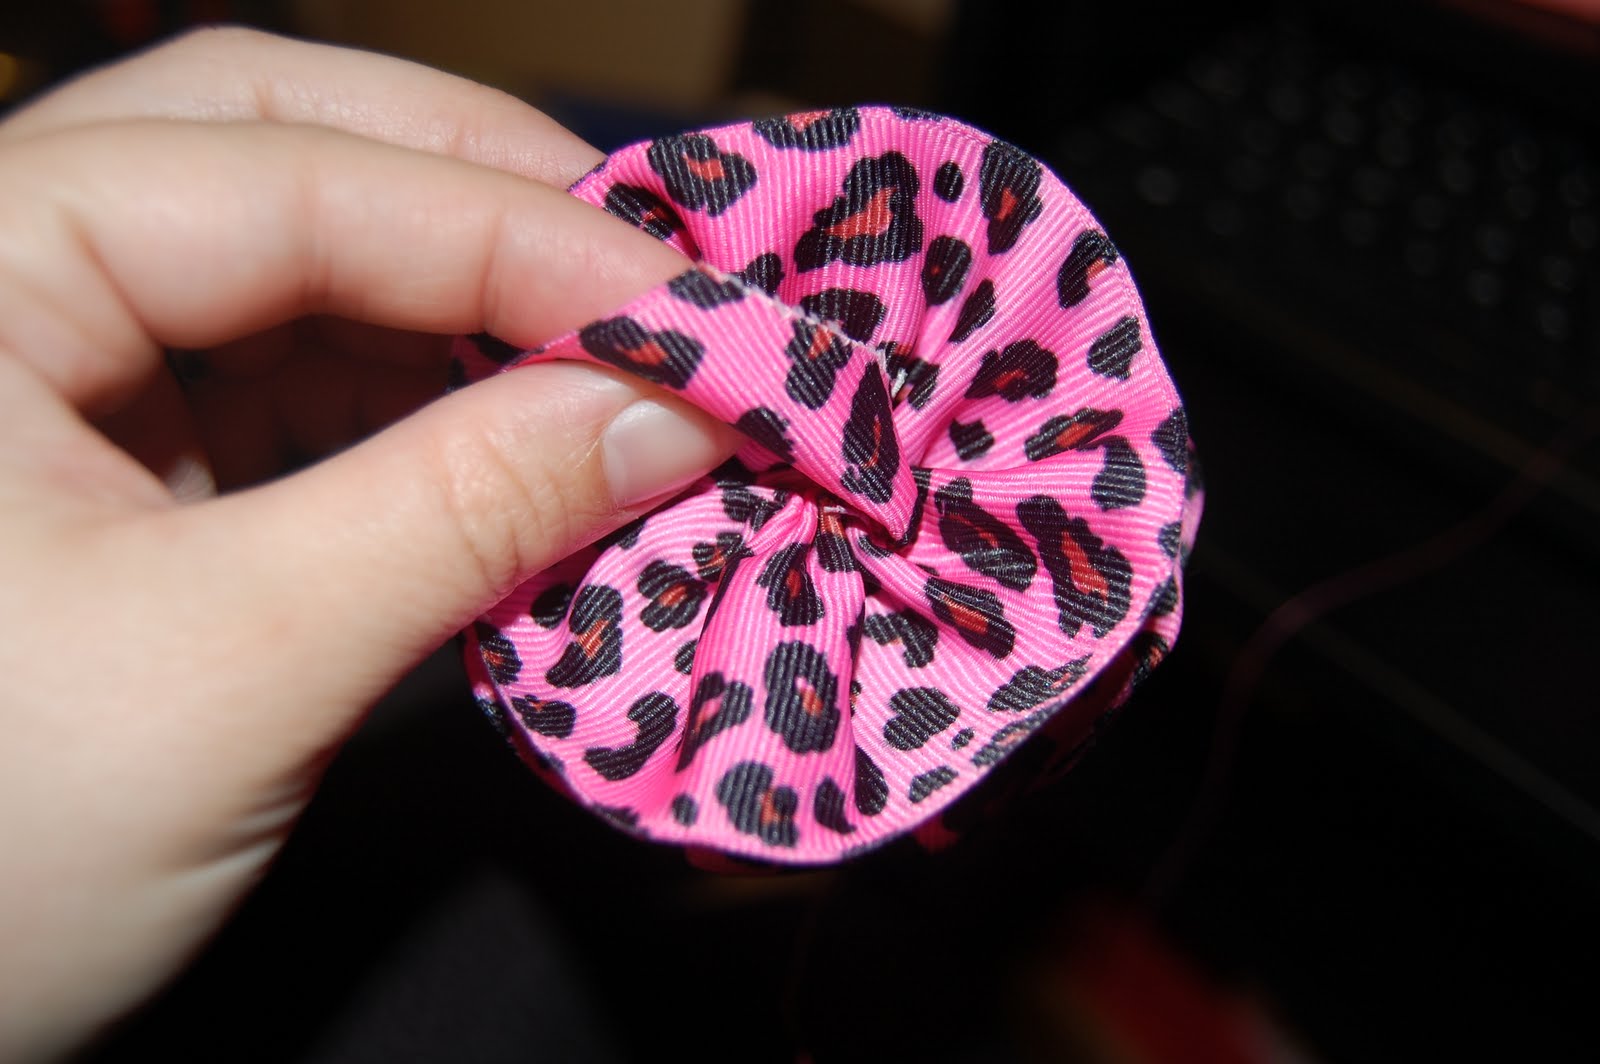
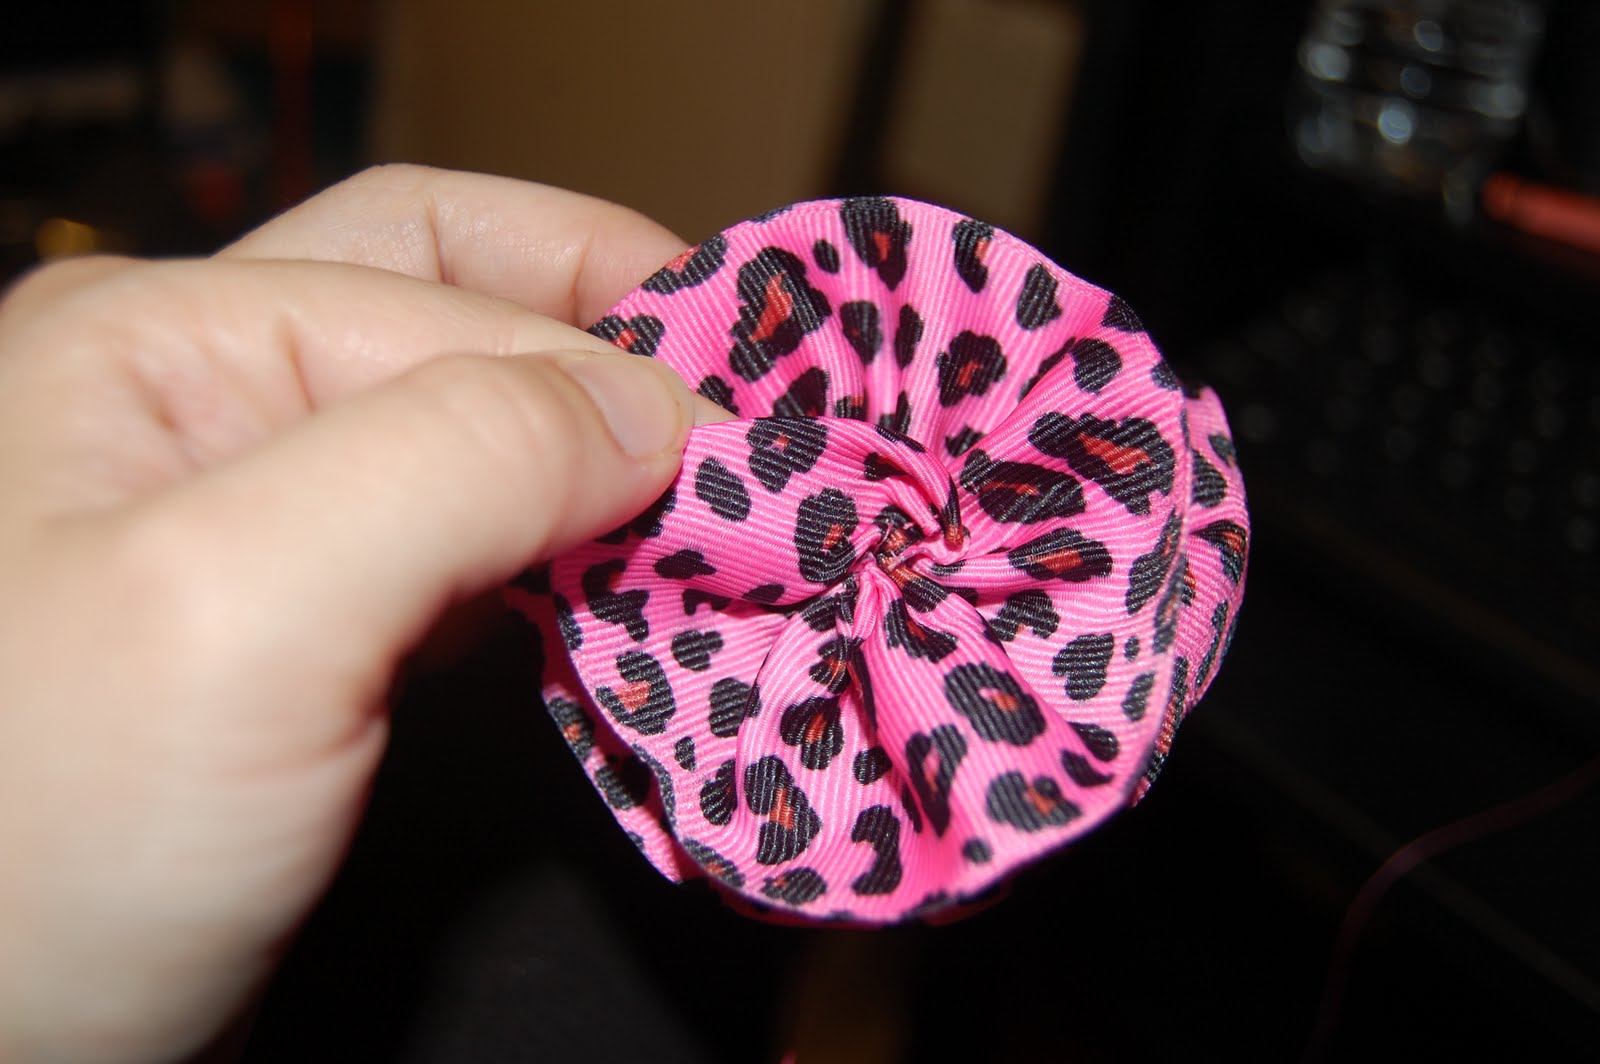
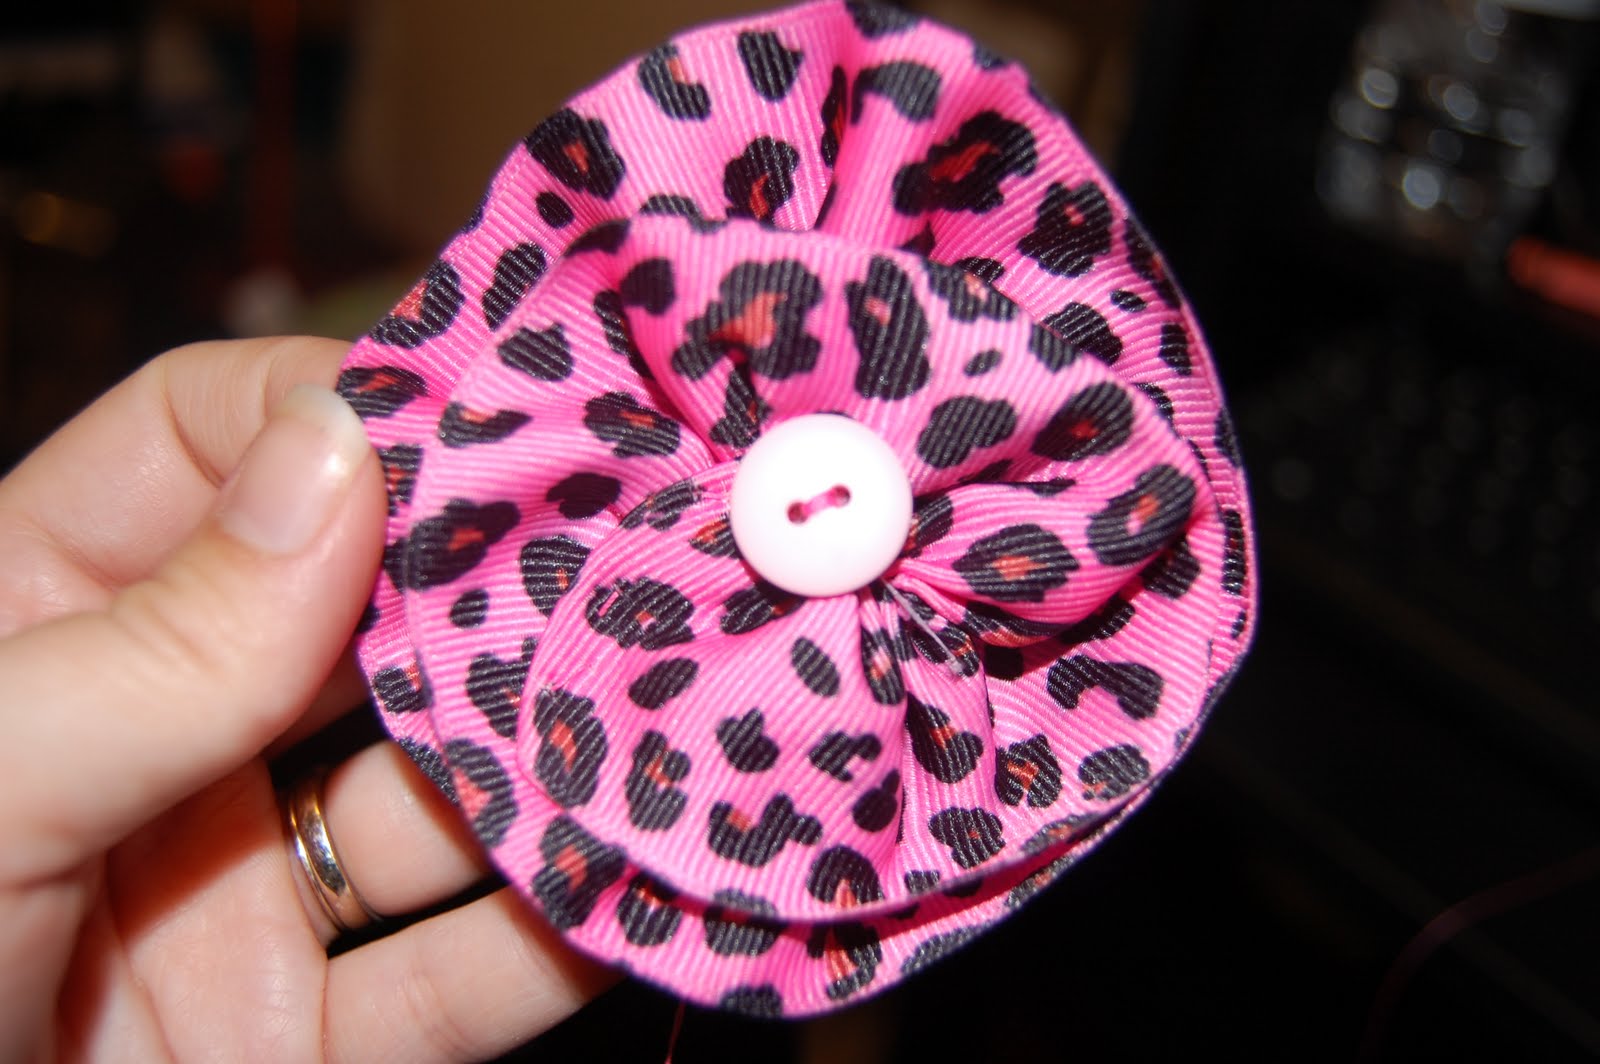
I used 1.5 inch grosgrain ribbon and sewed fairly large stitches across the top.  I did not cut the ribbon off the spool until I reached the desired amount of gathers.

Start pulling the gathers to see how much you have… start forming the rose shape.
Keep stitching and gathering until you can make about 3 layers.
Cut off the edge and stitch it under to prevent fraying.
Stitch all layers together to form the desired shape and place an embellishment if desired in the middle.  I sewed a button for mine.
At this point I stitched the rosette to the strap.  You can place yours anywhere you see fit.  Then I also put a strip of ribbon around the whole bag.  I first stitched the ribbon together where the rosette was, then stitched the top of the ribbon to each handle.  From there I placed a little hot glue to secure the ribbon to the bag.
Here is is!  So cute!

Sharing is caring!

This site uses Akismet to reduce spam. Learn how your comment data is processed.

17 Creative Easy-To-Make Perfect Diaper Bag for the New Moms |DIYManiac

Saturday 17th of May 2014

[…] Image via bubblynaturecreations.com […]

This site uses Akismet to reduce spam. Learn how your comment data is processed.