Today Sarah, from Hope in Every Season, is showing us how to make this lovely Waterfall Card!!! Thank you so much Sarah!!!
I’m thrilled to be guest posting today at Bubbly Nature Creations!
Thank you, Rachel, for giving me the opportunity to share this Easy
Waterfall Card tutorial with your readers! I’ve made several of these cards—all adapted from the original instructions at Splitcoaststampers.com.
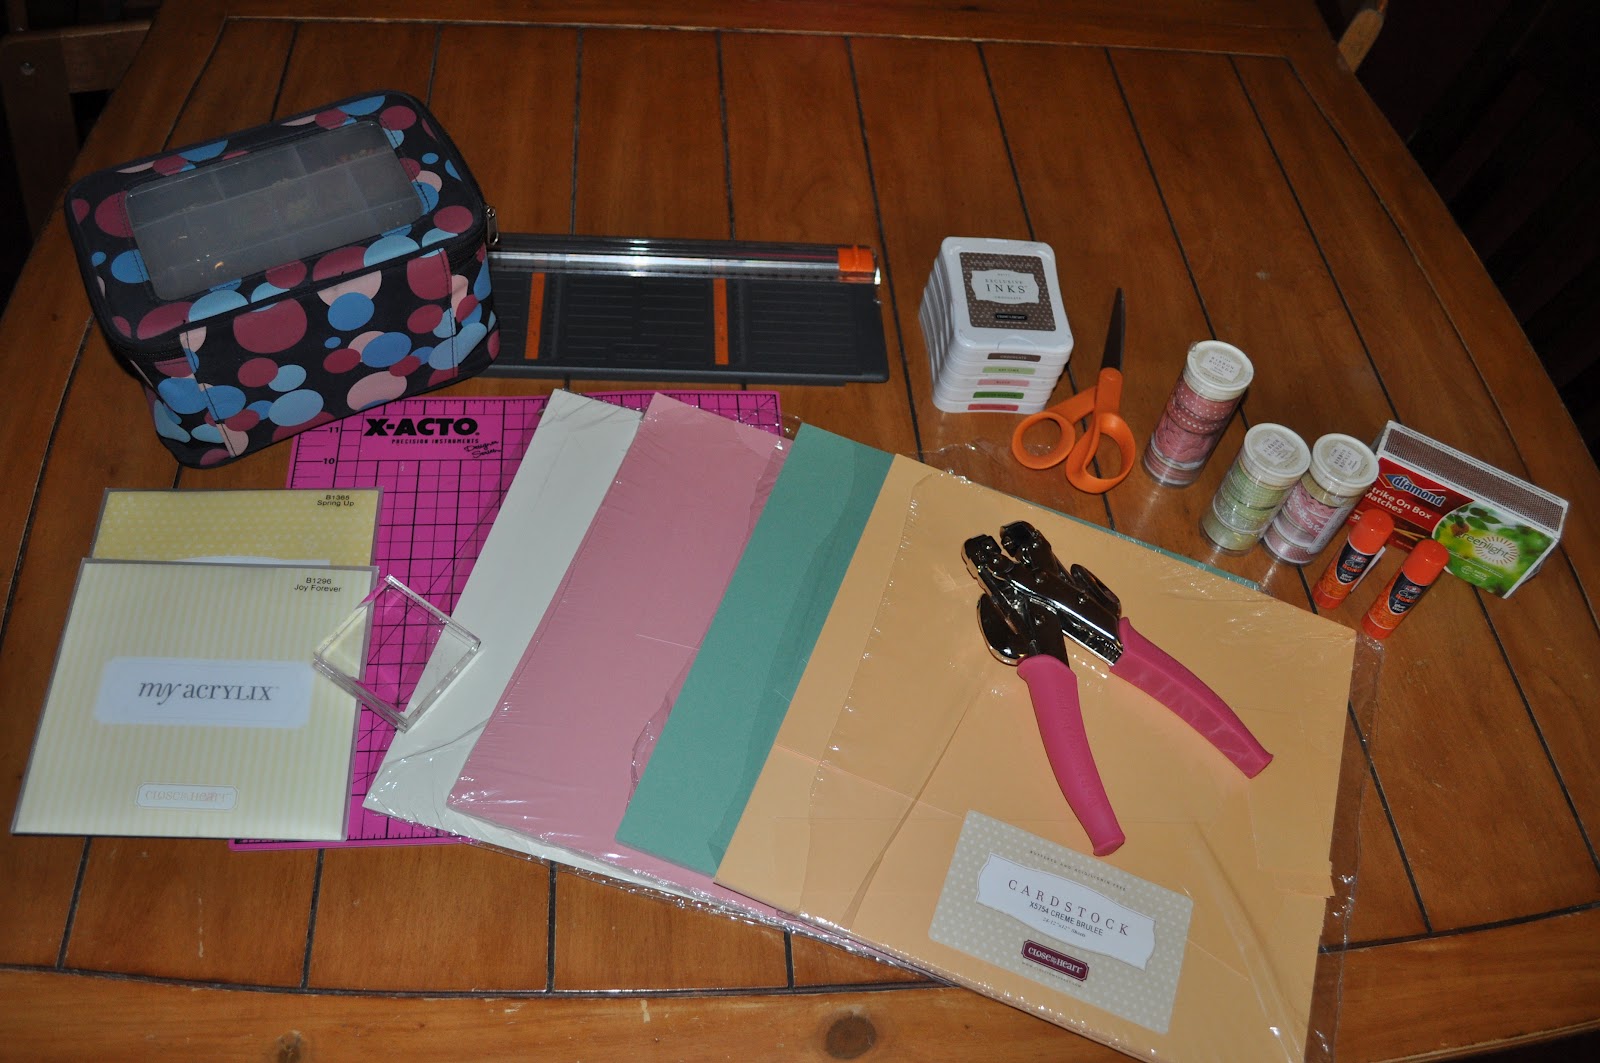
While this complex-looking card may seem overwhelming to the newest papercrafter, it’s actually fairly simple if you take it step by step. First you need to assemble your supplies. In addition to the specific things listed below, make sure you have basic papercrafting supplies like scissors, a paper trimmer, a bone folder (or other scoring device), an eyelet setter (and 3 eyelets)
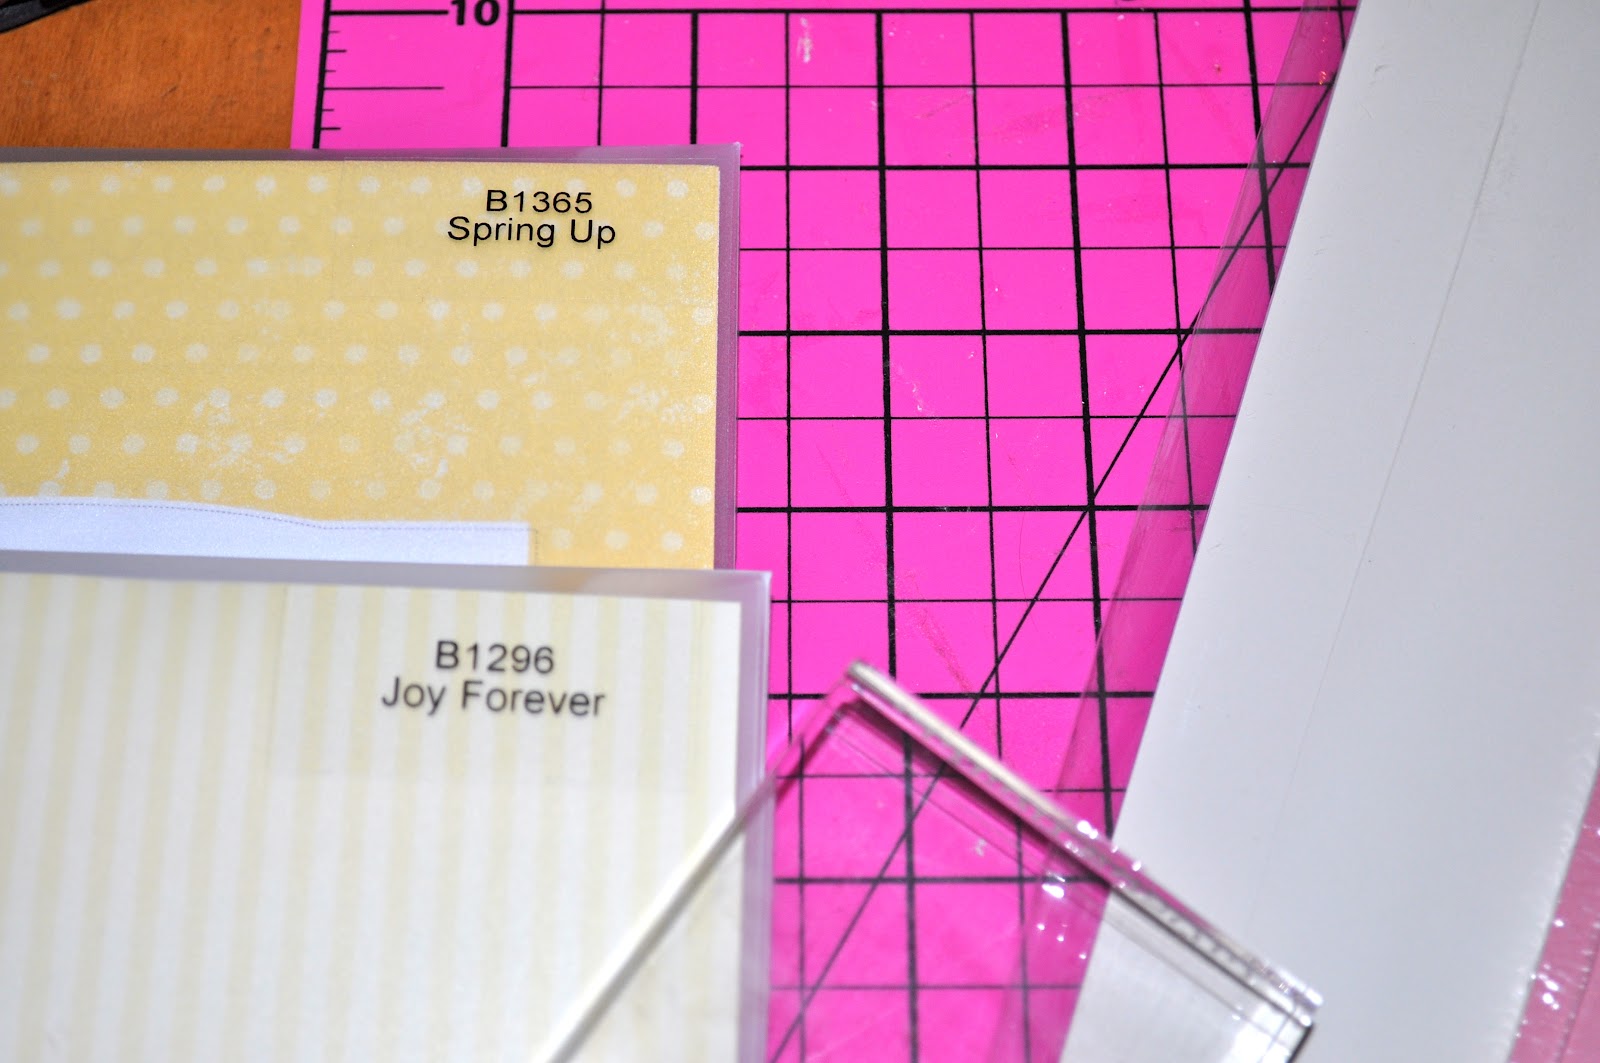
You will need a few different colors of cardstock. For the best color combinations, choose at least three colored cardstock sheets, and one neutral sheet. I’m using mostly Close To My Heart products in this tutorial. These colors are Colonial White, Blush, Juniper, and Creme Brulee.
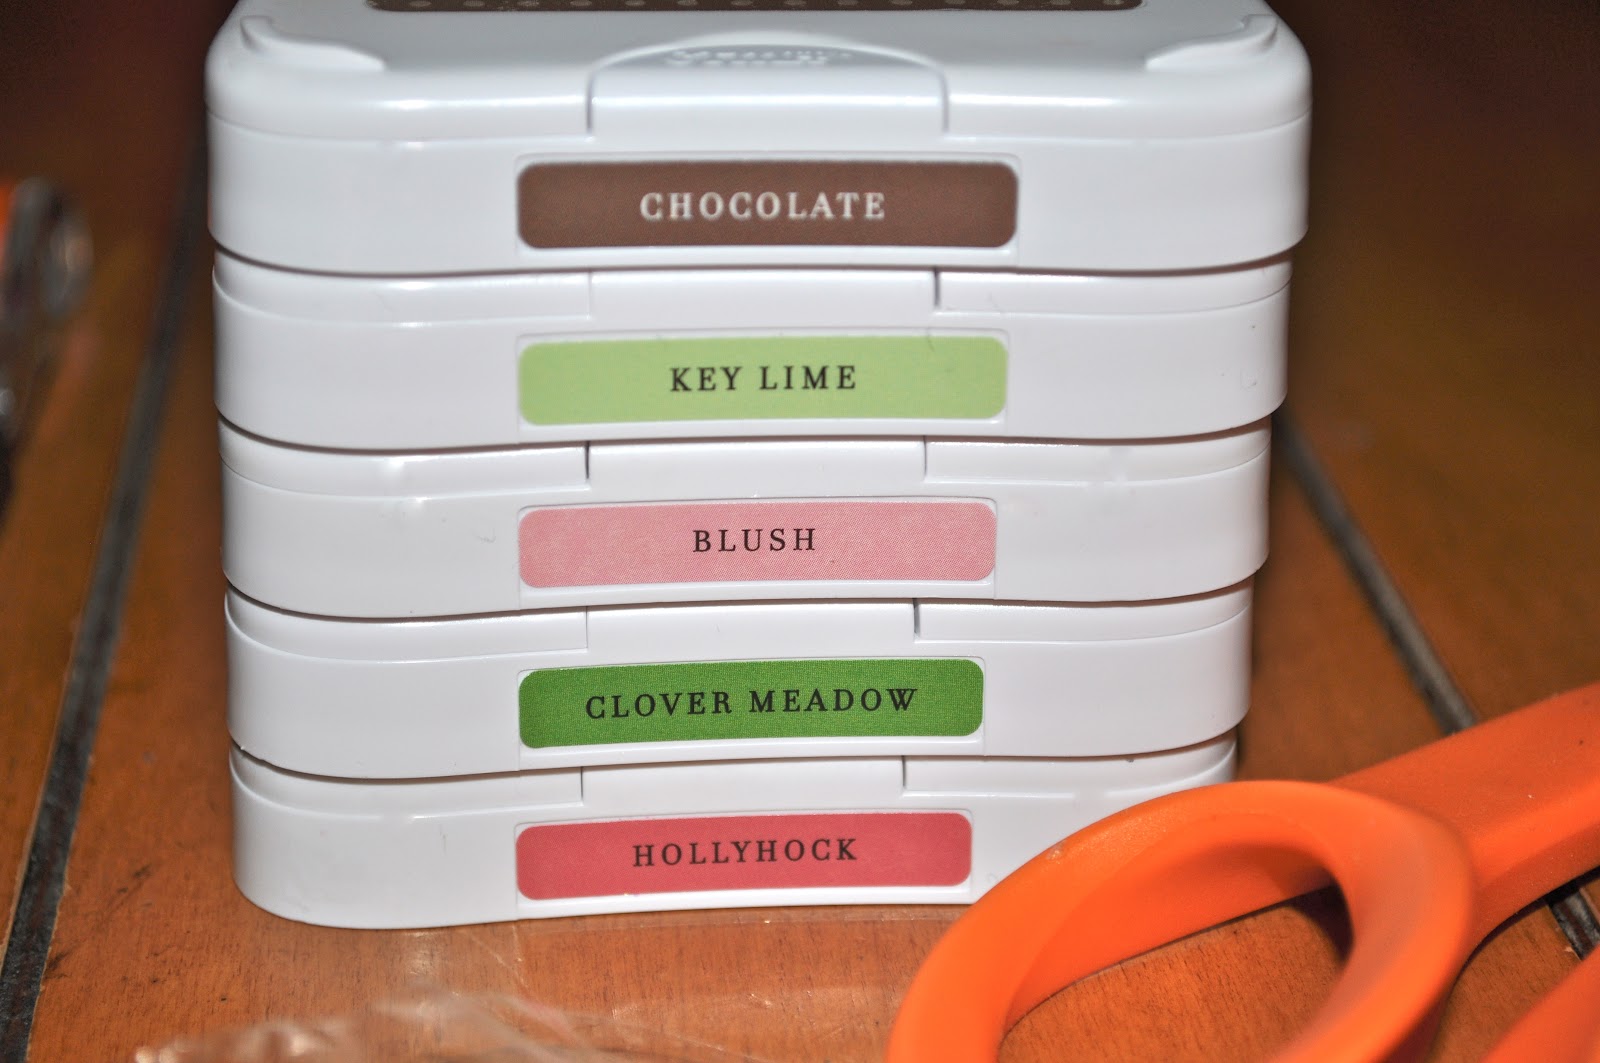
Next choose a combination of inks, watercolor pencils, or other coloring medium that compliment your paper colors.
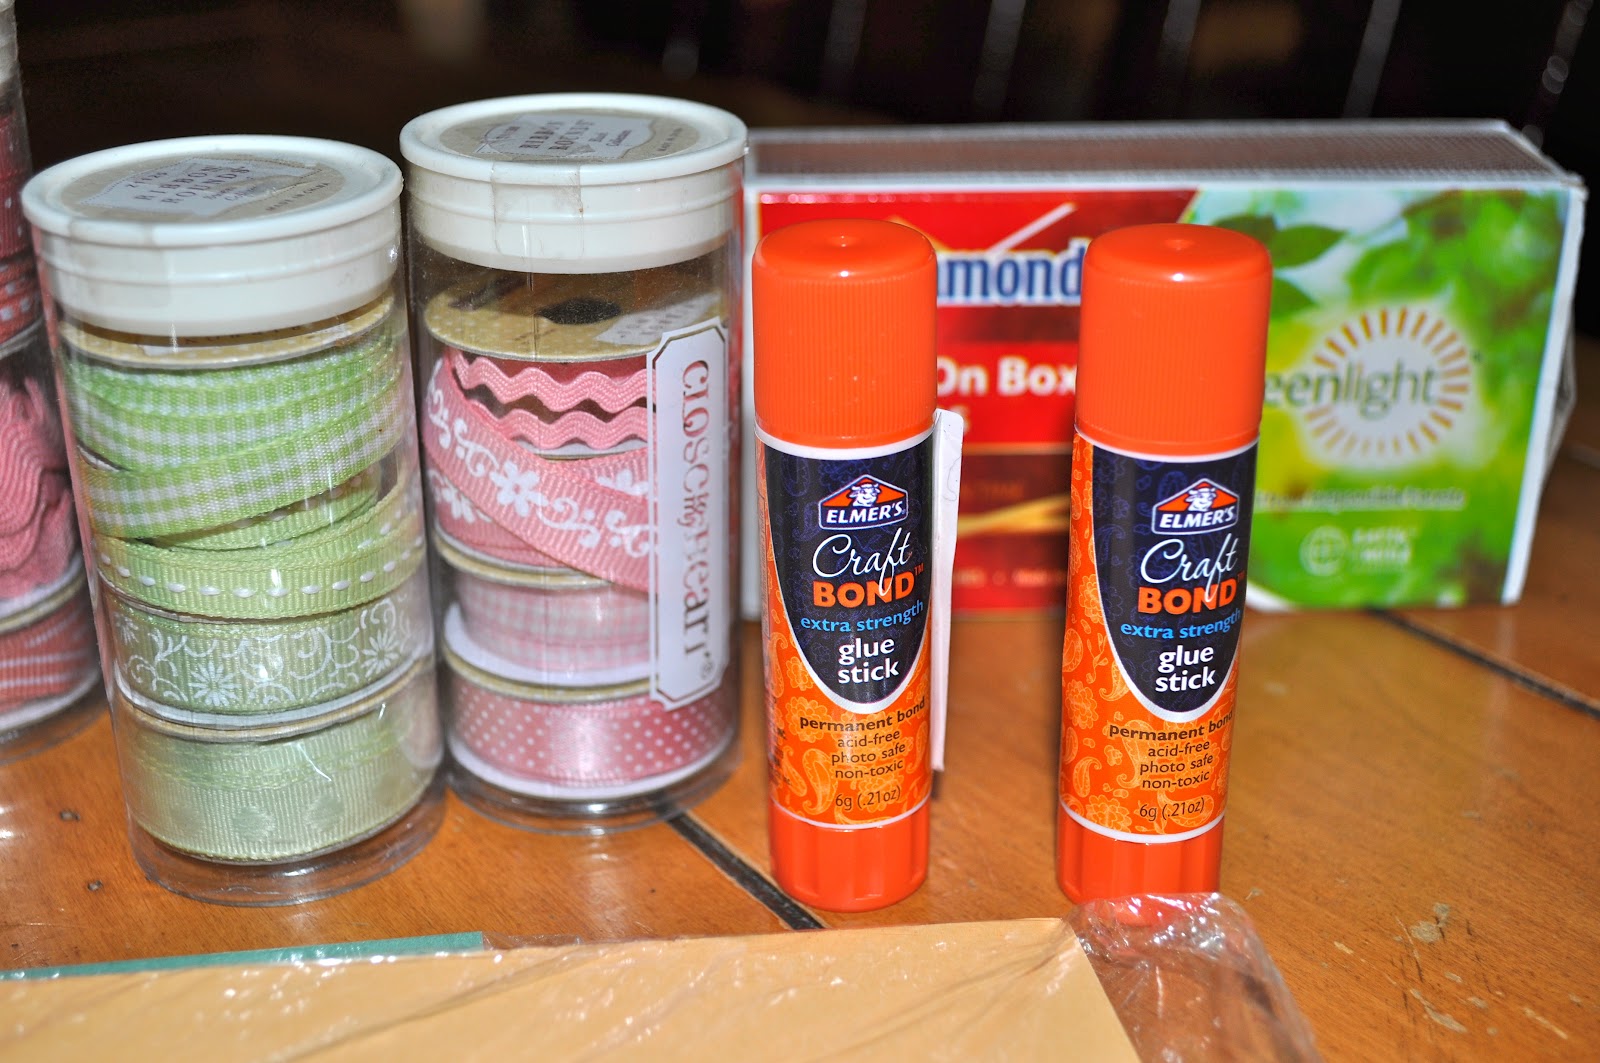
You will need one length of ribbon, a strong paper adhesive, and something with which to start a flame!
Choose some stamps (or stickers if you don’t have stamps). You will use these on the four small squares on the front of the card.
Next you need to cut your paper into the right sizes.
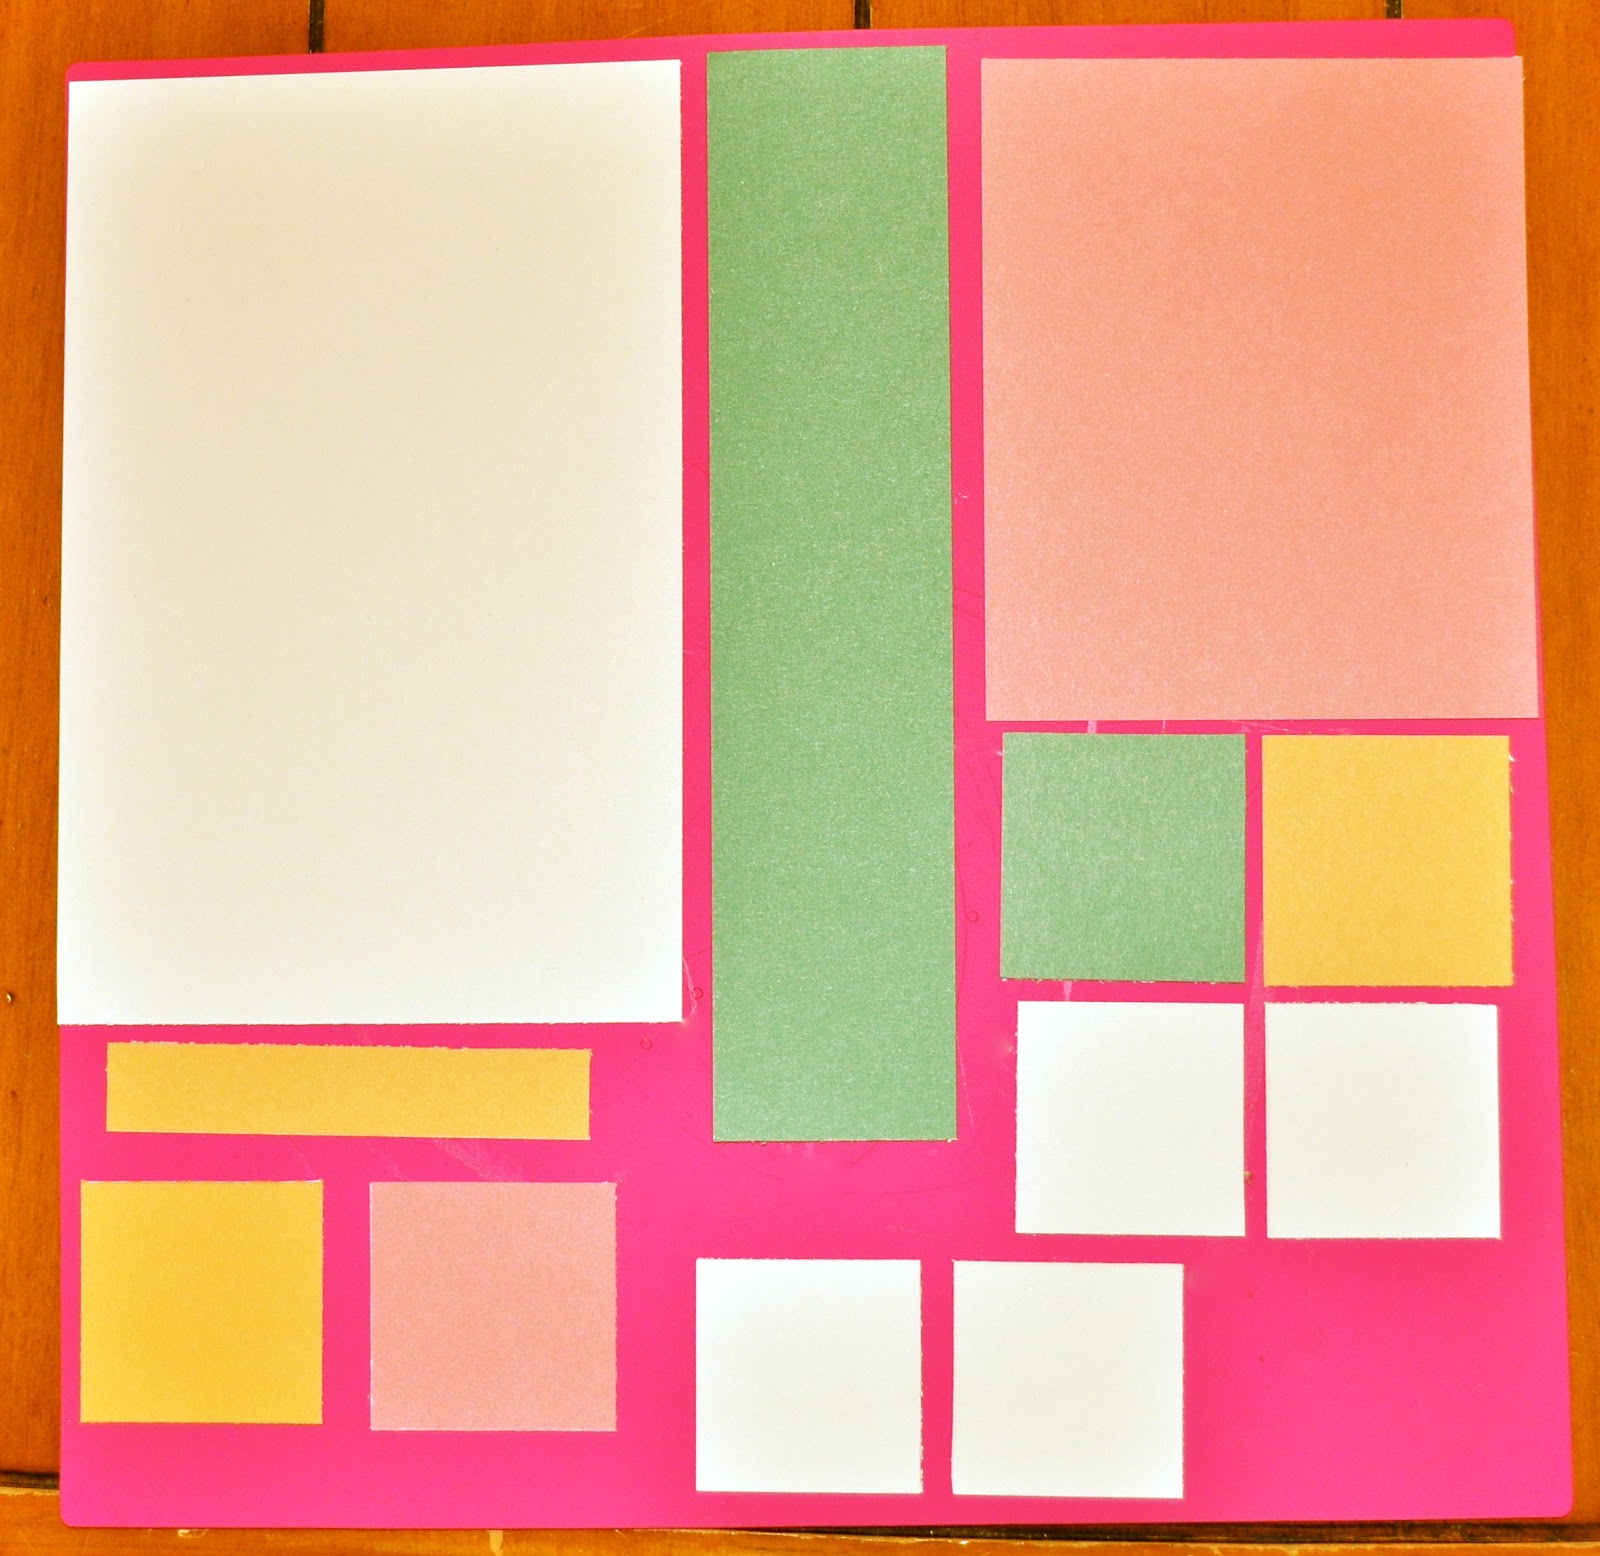
From your neutral cardstock, you should cut the following pieces: 5 1/4″ x 8″ (1), 1 7/8″ x 1 7/8″ (4).
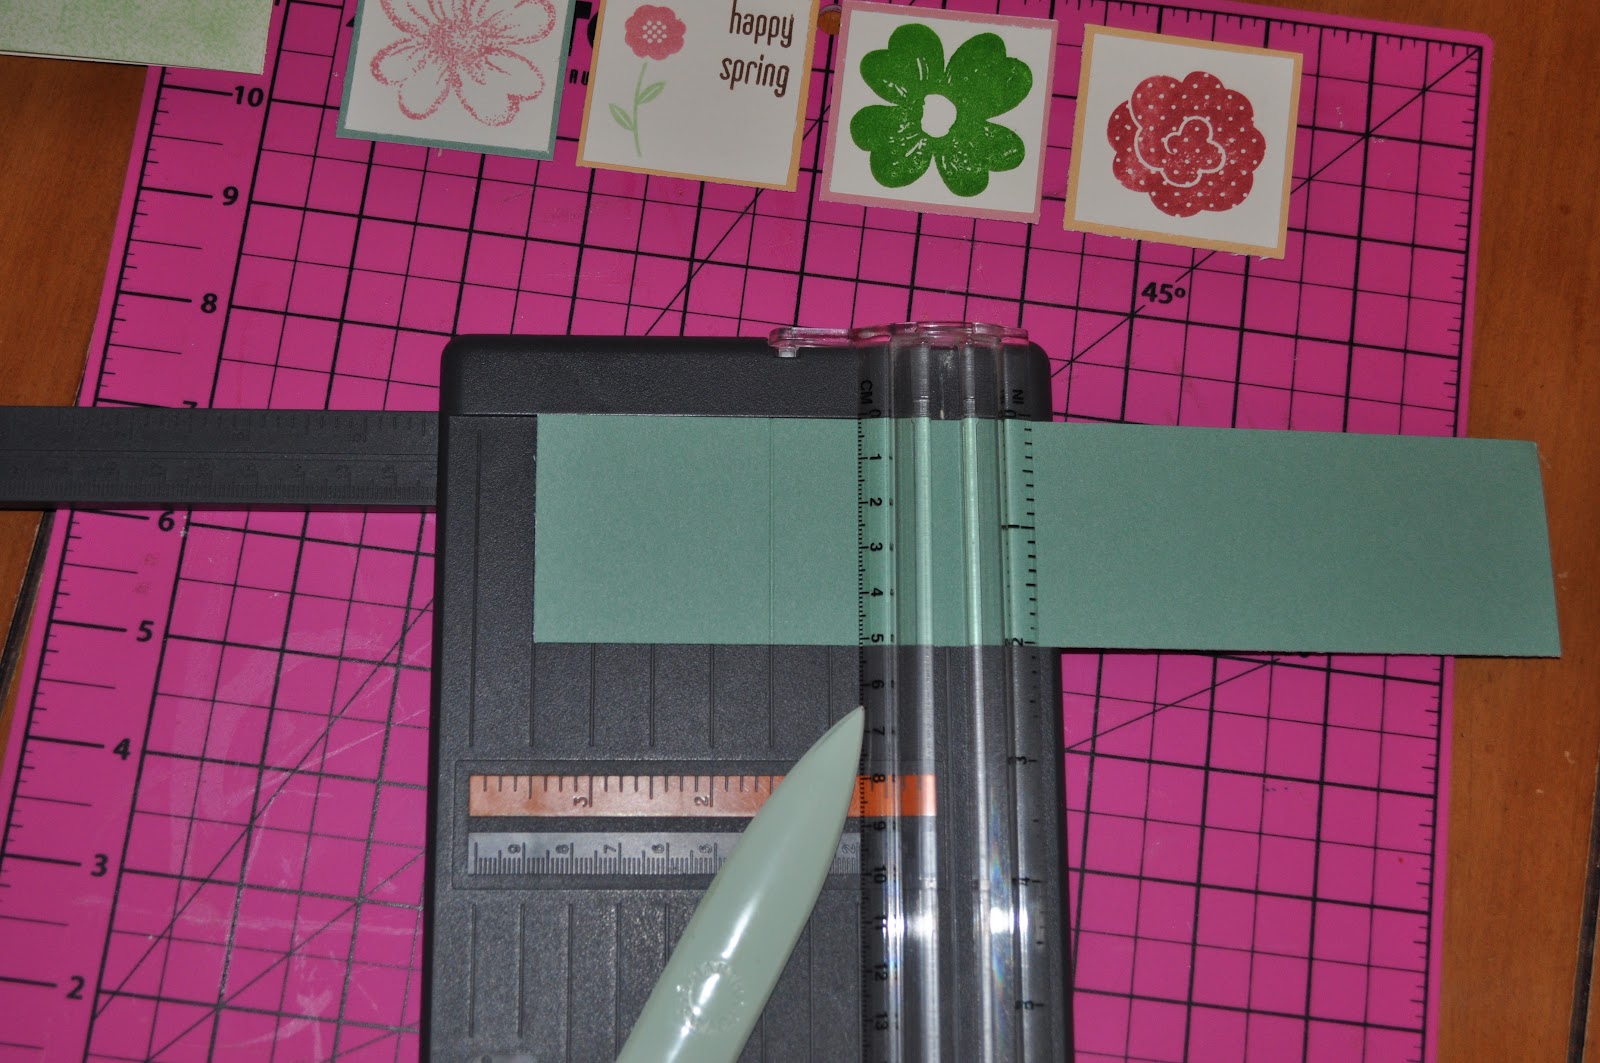
From your colored cardstock, you should cut the following pieces: 2″ x 2″ (4), 5 1/2″ x 4 1/4″ (1), 9″ x 2″ (1), 3/4″ x 4″ (1).
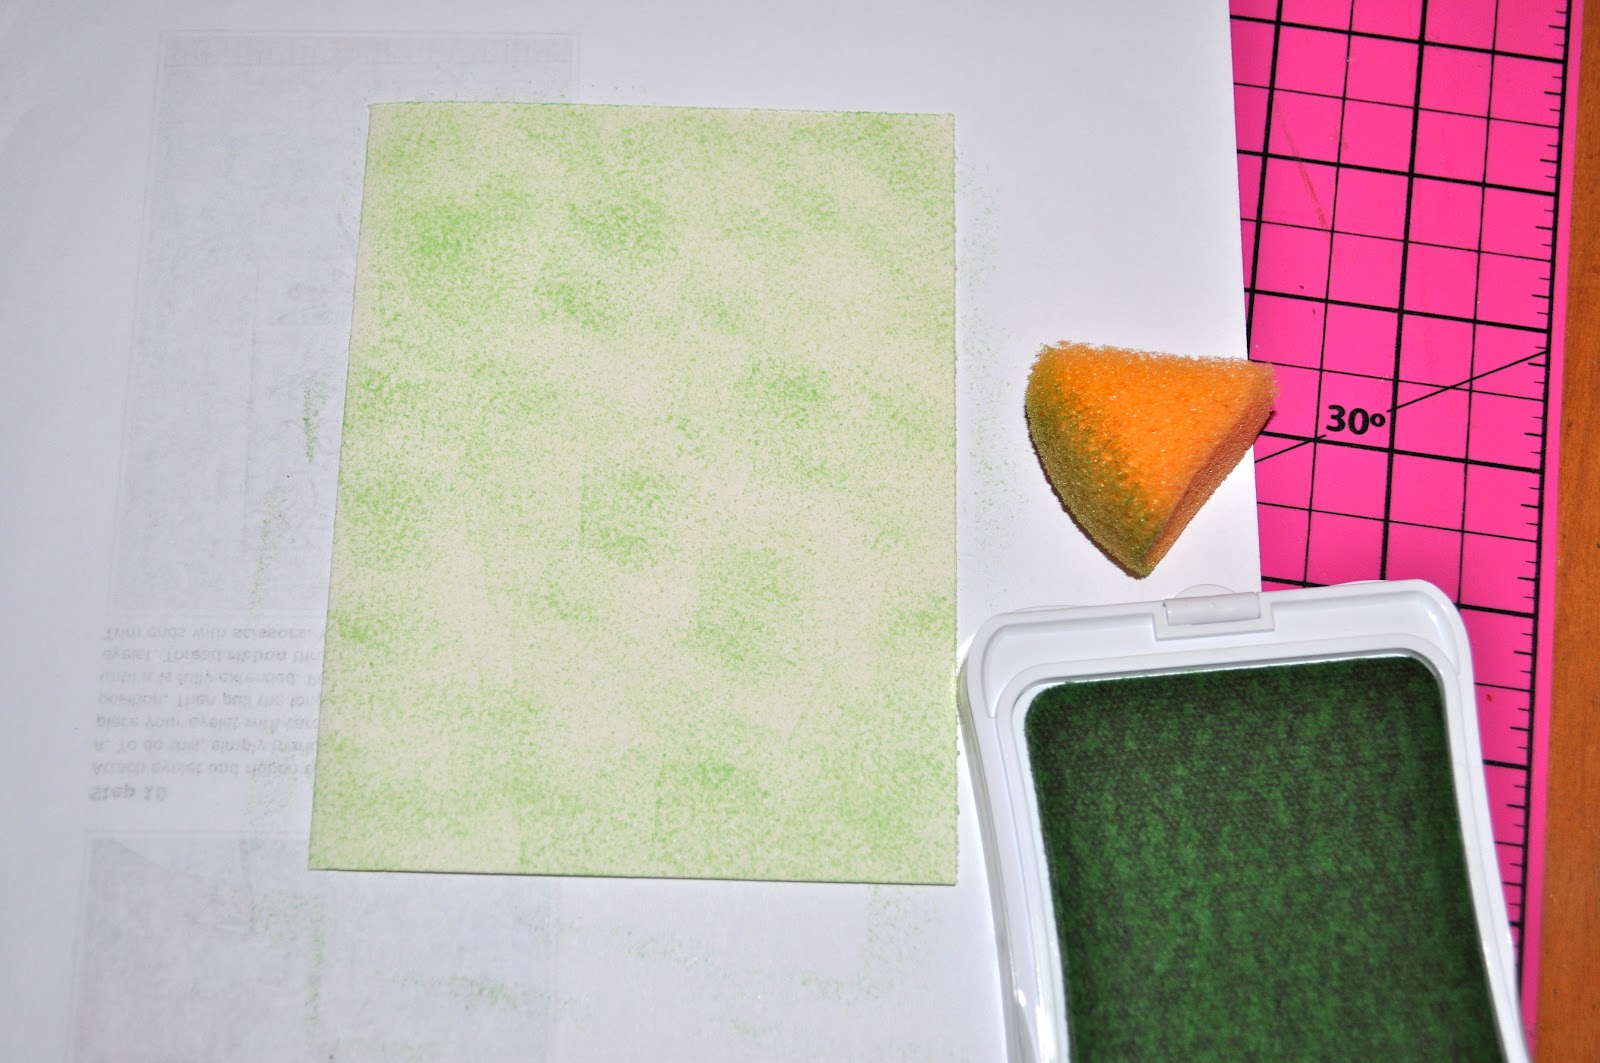
Take the largest piece of neutral cardstock, fold it in half, and stamp a design on it. I used a sponge to apply a light color.
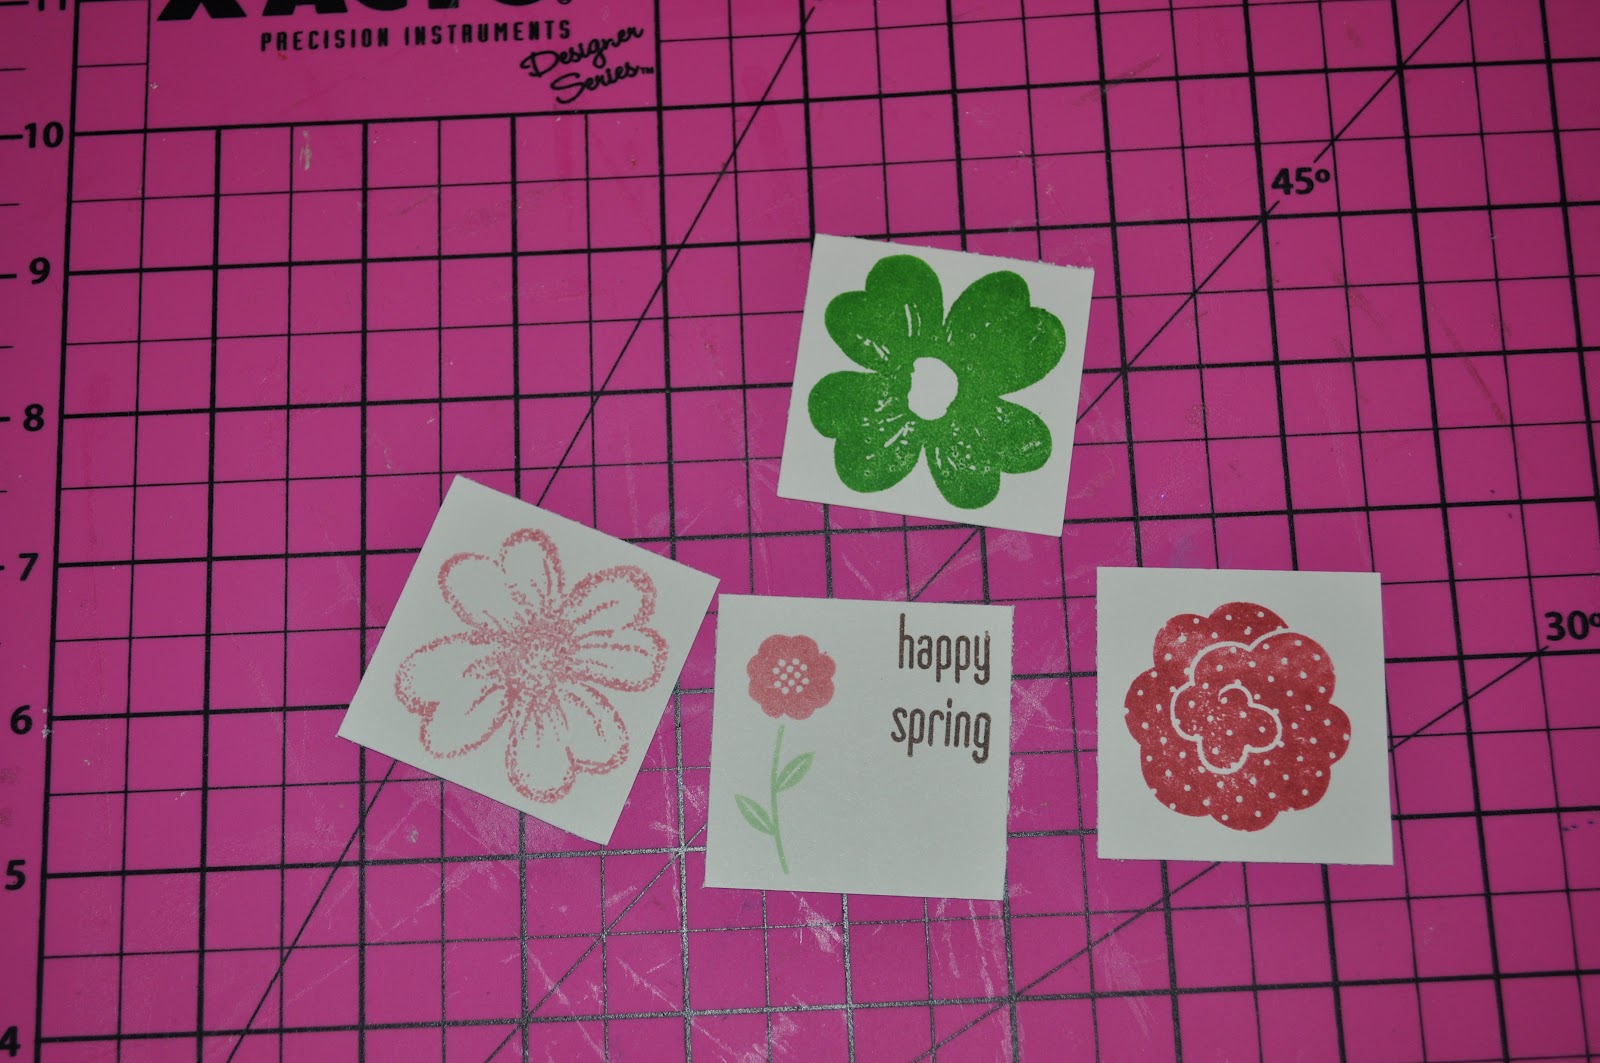
Stamp an image (or apply stickers) on the four neutral squares. Then glue them to the four bigger squares that you cut from the cardstock.
Next, use your bone folder to score the 9 x 2 strip. Starting at one end, score a line at 2″, 2 3/4″, 3 1/2″, and 4 1/4″. Fold along the scored lines. When you apply this piece to the card, the longest end of this piece will be flat against the card.
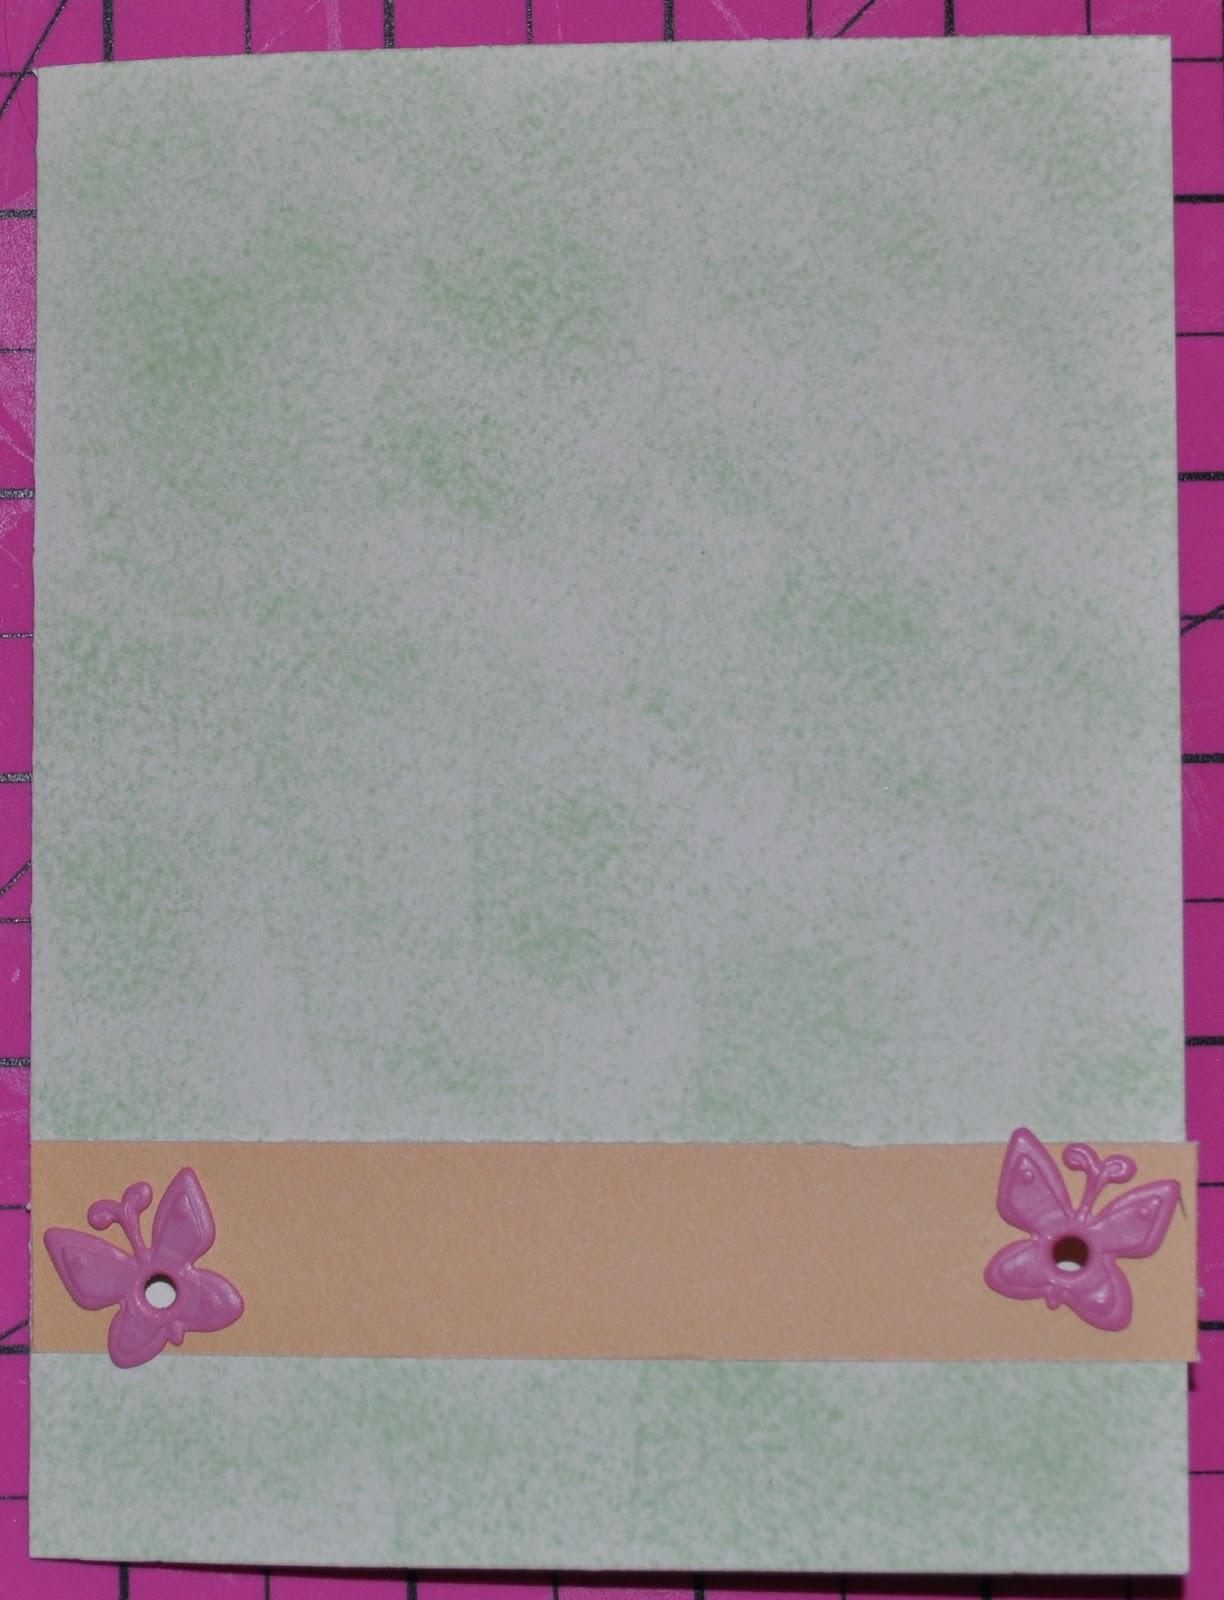
Attach the horizontal strip (3/4″ x 4″) to the front of the card with eyelets. Do not use any glue on this piece!
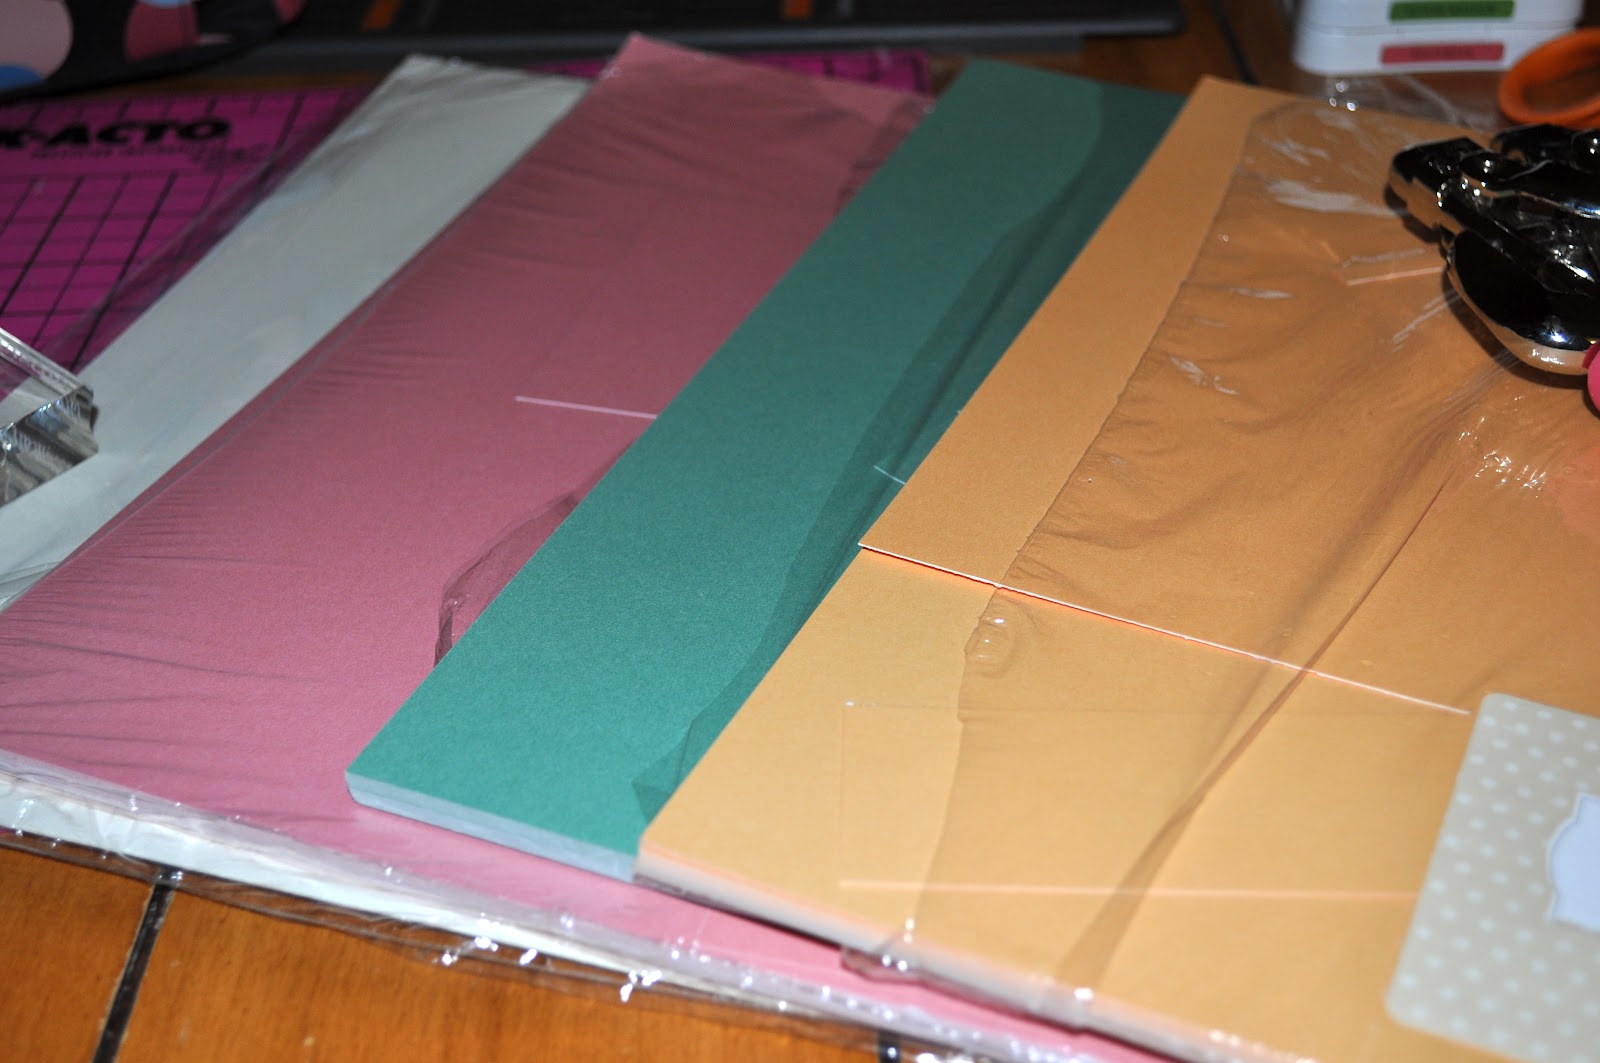
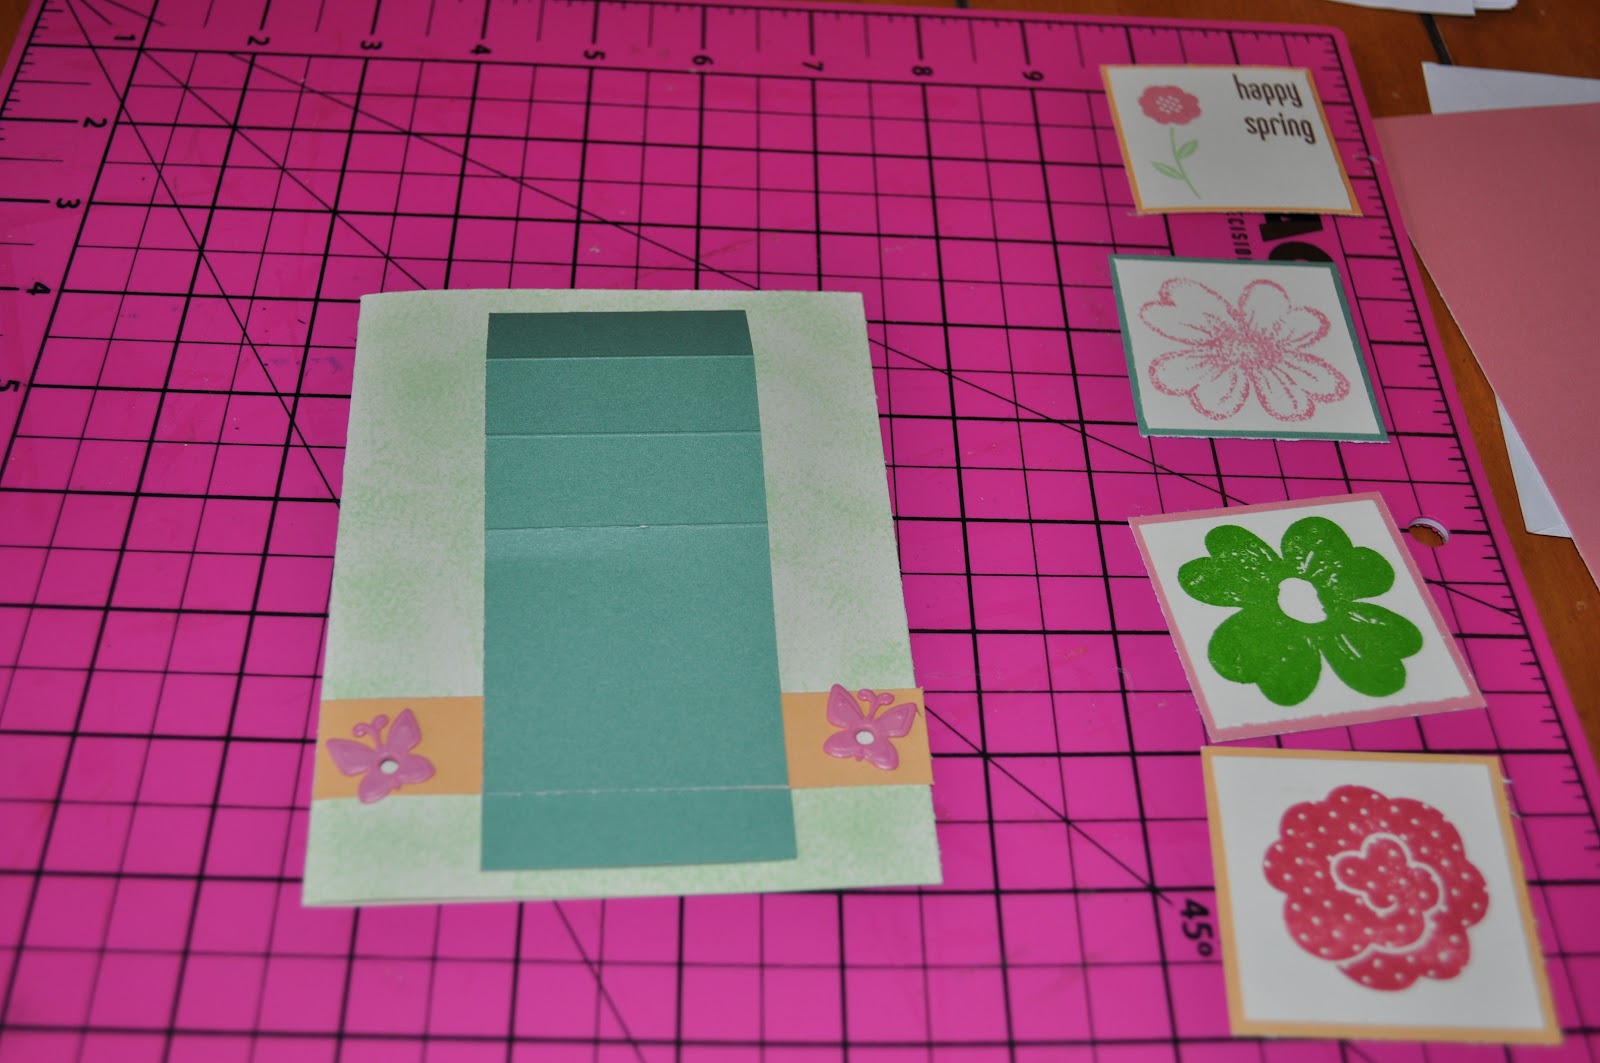
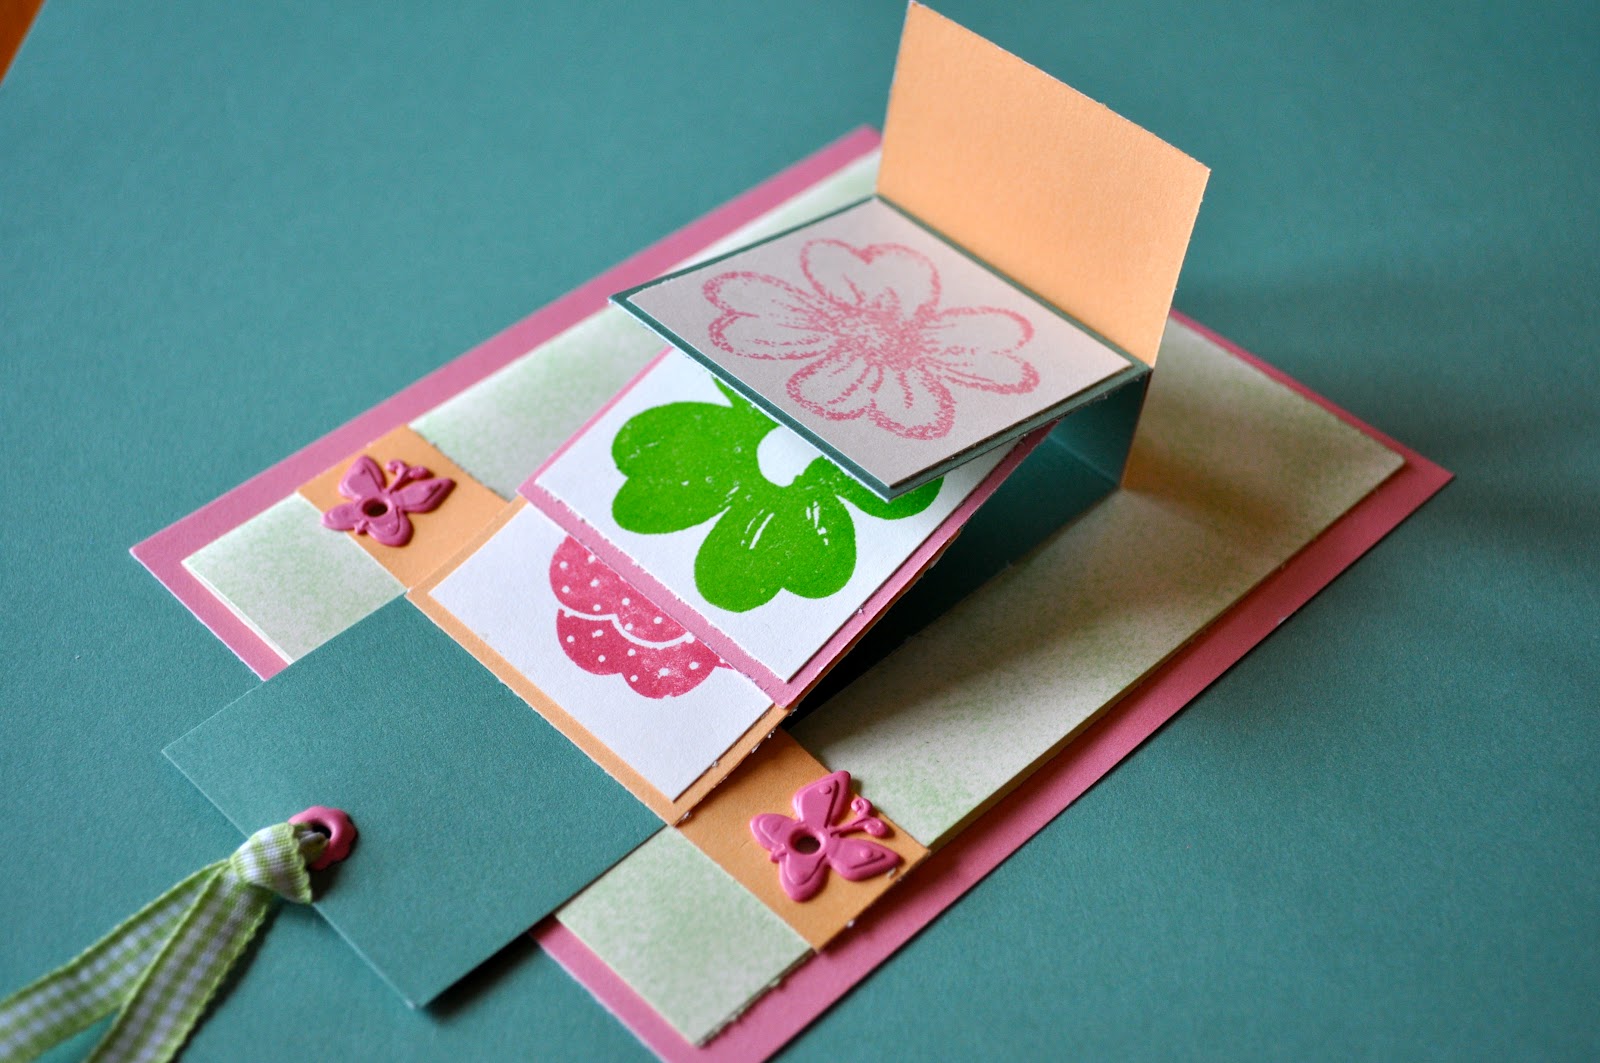
You now need to attach the scored strip to the horizontal strip. Lay the longest end of the scored strip flat against the card, under the horizontal strip. Line up the 2″ square end of the scored strip with the horizontal strip and glue down just the part that touches the horizontal strip. In my example above, I’ve laid the green scored piece flat against my card with it running underneath the yellow horizontal strip. I’ve glued the square end of the green piece to the yellow horizontal strip with the glue only being where the green piece touches the top of the yellow piece. Arrange your four stamped images in the order you want them displayed in your waterfall. The image you want on top should be at the top of the arrangement. (Compare how I’ve arranged these images above to how I have them on my final card picture at the top of this post.)
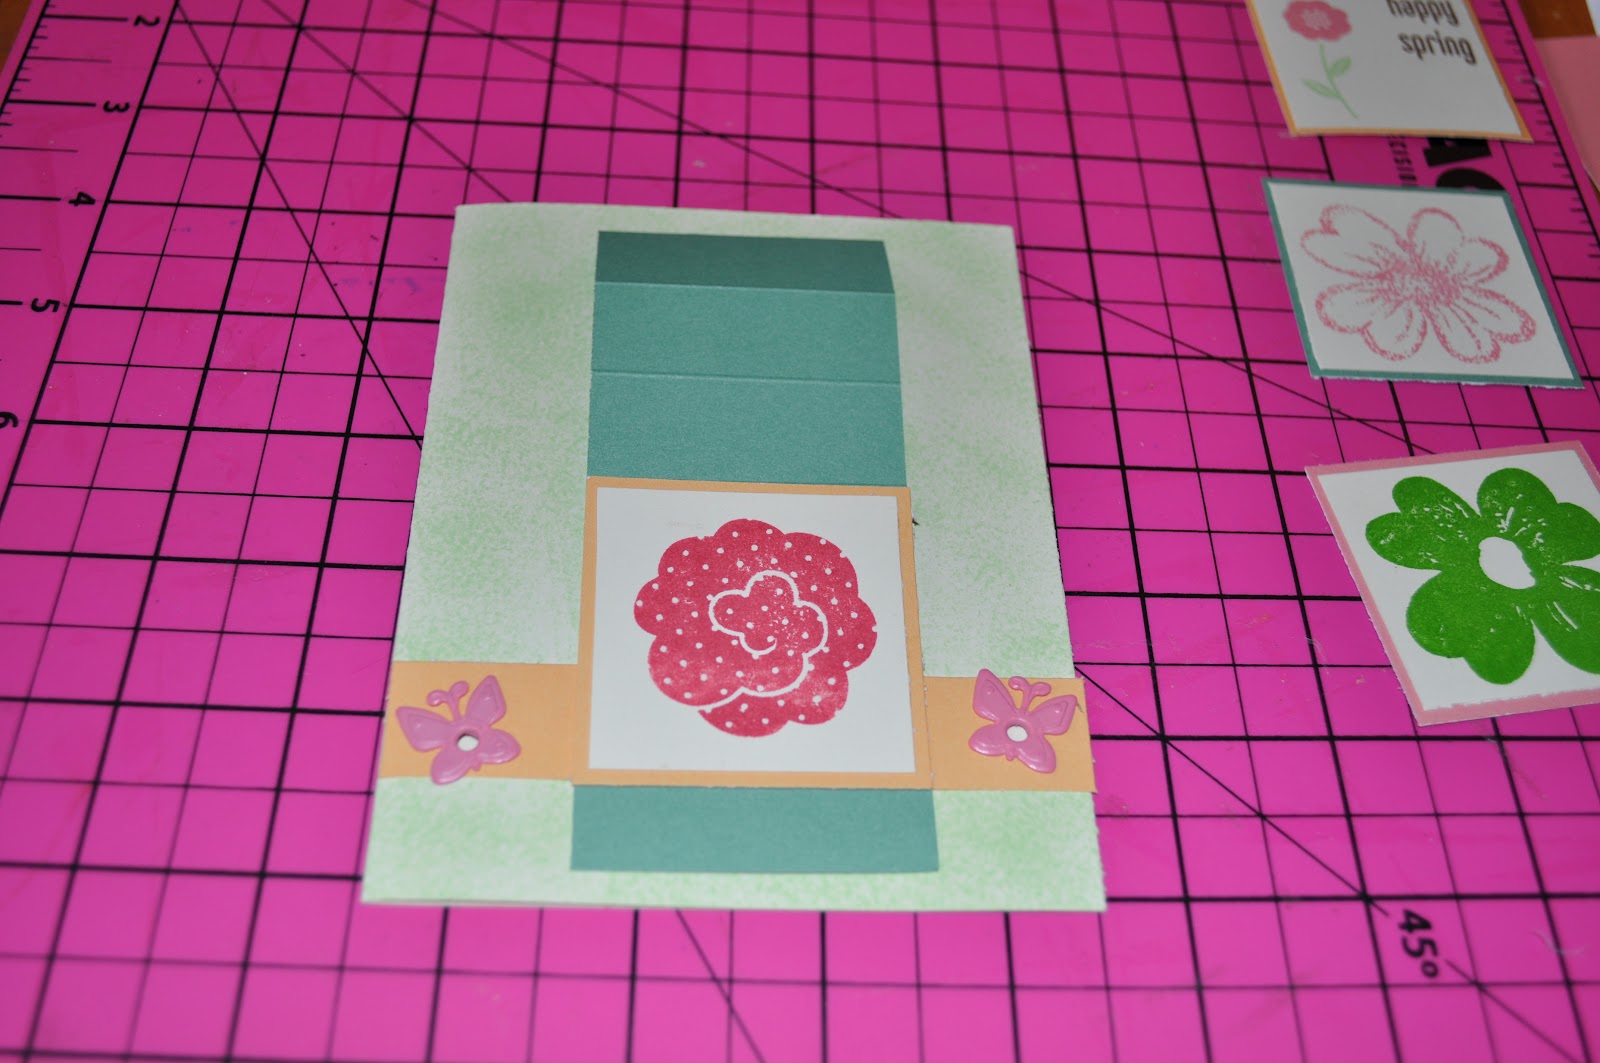
Glue the image you want on bottom to the 2″ square on the scored strip. Continue gluing each piece to the scored sections. You will place your glue on the scored strip (green strip in my example) and align the top of your image with the top of the scored section. Part of your top three images will not be glued down—that way they can flip up and down for the waterfall effect.
Wait a few minutes for your glue to set and then attach an eyelet and ribbon to the end of the scored section that is sticking out from underneath the horizontal strip. I used a match to carefully melt the edges of the ribbon so it won’t fray. You can also glue the entire card to the remaining piece of colored cardstock.
Now you’ve got a beautiful and unique card to share!
Hope you enjoyed this cute tutorial! Please contact me if you have any questions!


wear bow ties
Friday 7th of October 2016
I got what you intend,saved to fav, very decent website.
feet happy
Monday 3rd of October 2016
Hello, every time i used to check blog posts here early in the break of day, as i like to learn more and more.
Christine
Thursday 12th of April 2012
This is way cool!!!!!!!! I've never really made a handmade card before... besides the basic drawing one like a child hehehe
You better plan and sharing this at my party!! :) http://thediydreamer.blogspot.ca/2012/04/from-dream-to-reality-linky-party-11.html
Tonia @The Gunny Sack
Wednesday 11th of April 2012
Very cool! I love handmade cards but haven't taken the time to make any in quite awhile!
Sarah Coller
Wednesday 11th of April 2012
Thanks for allowing me to guest post, Rachel. The colors in the card look great with your blog! Ha! :)
Sarah