

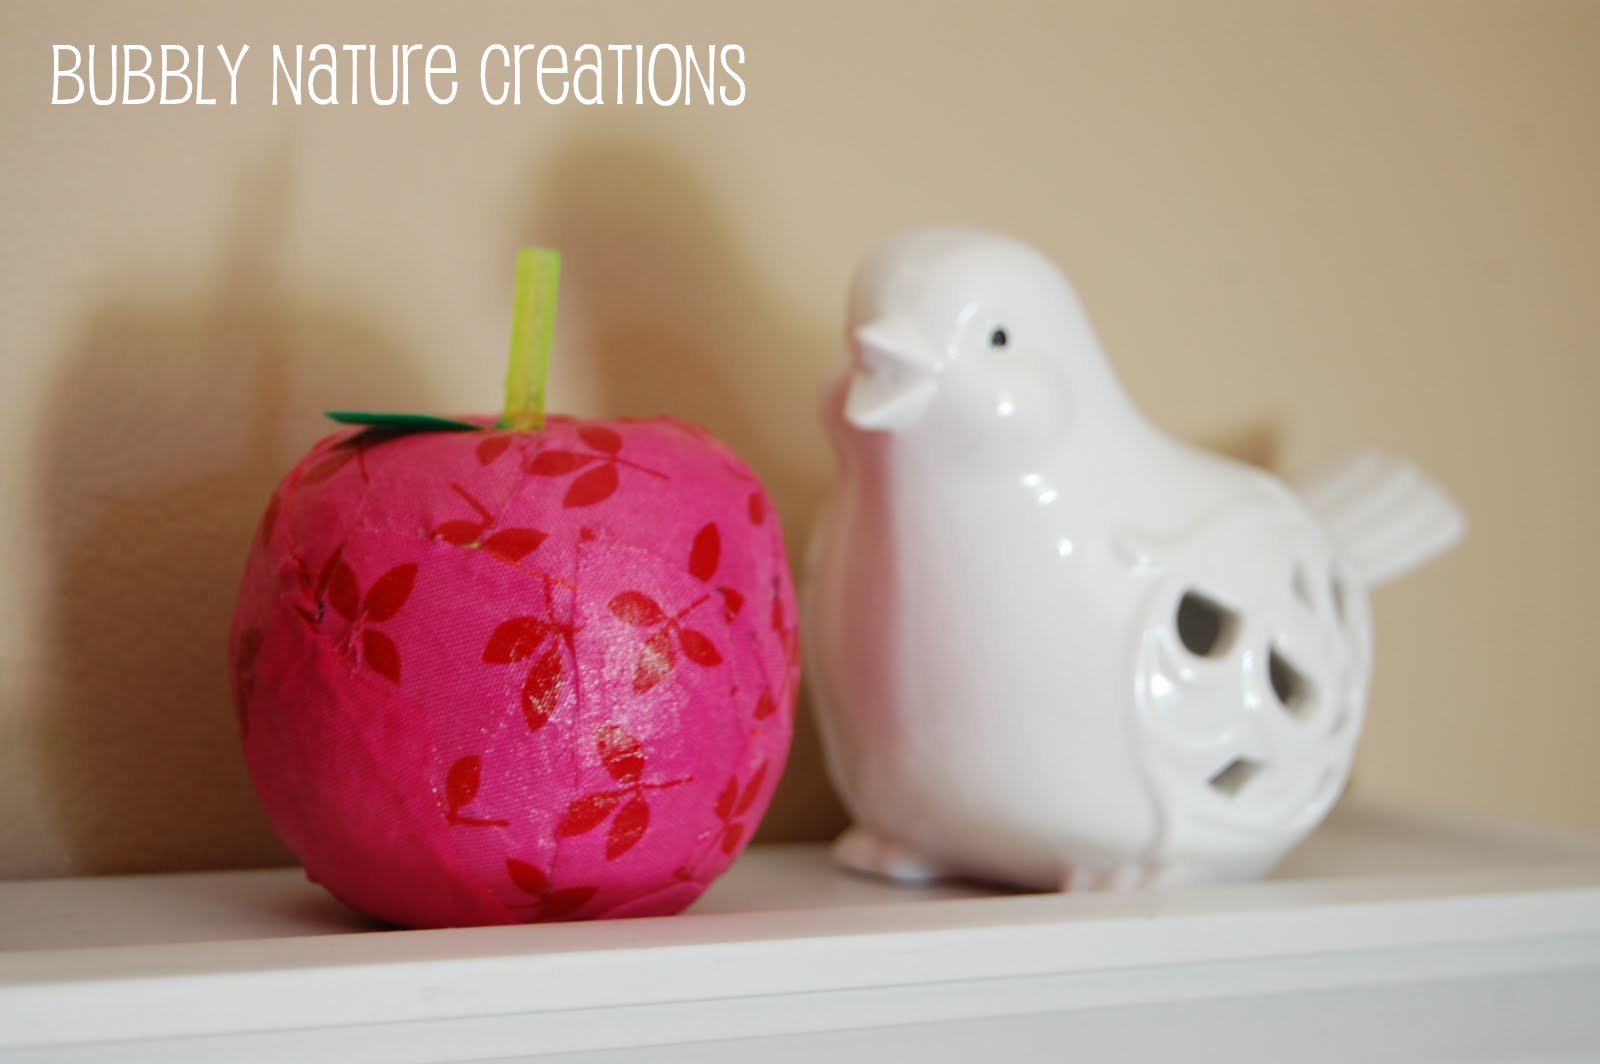
Are these not the cutest little apples you ever did see? They are so simple to make and super thrifty.
These little apples make a big statement. I went with bright colors, but this can easily be adapted to fit any color scheme.
here it is…
What you will need for this project:
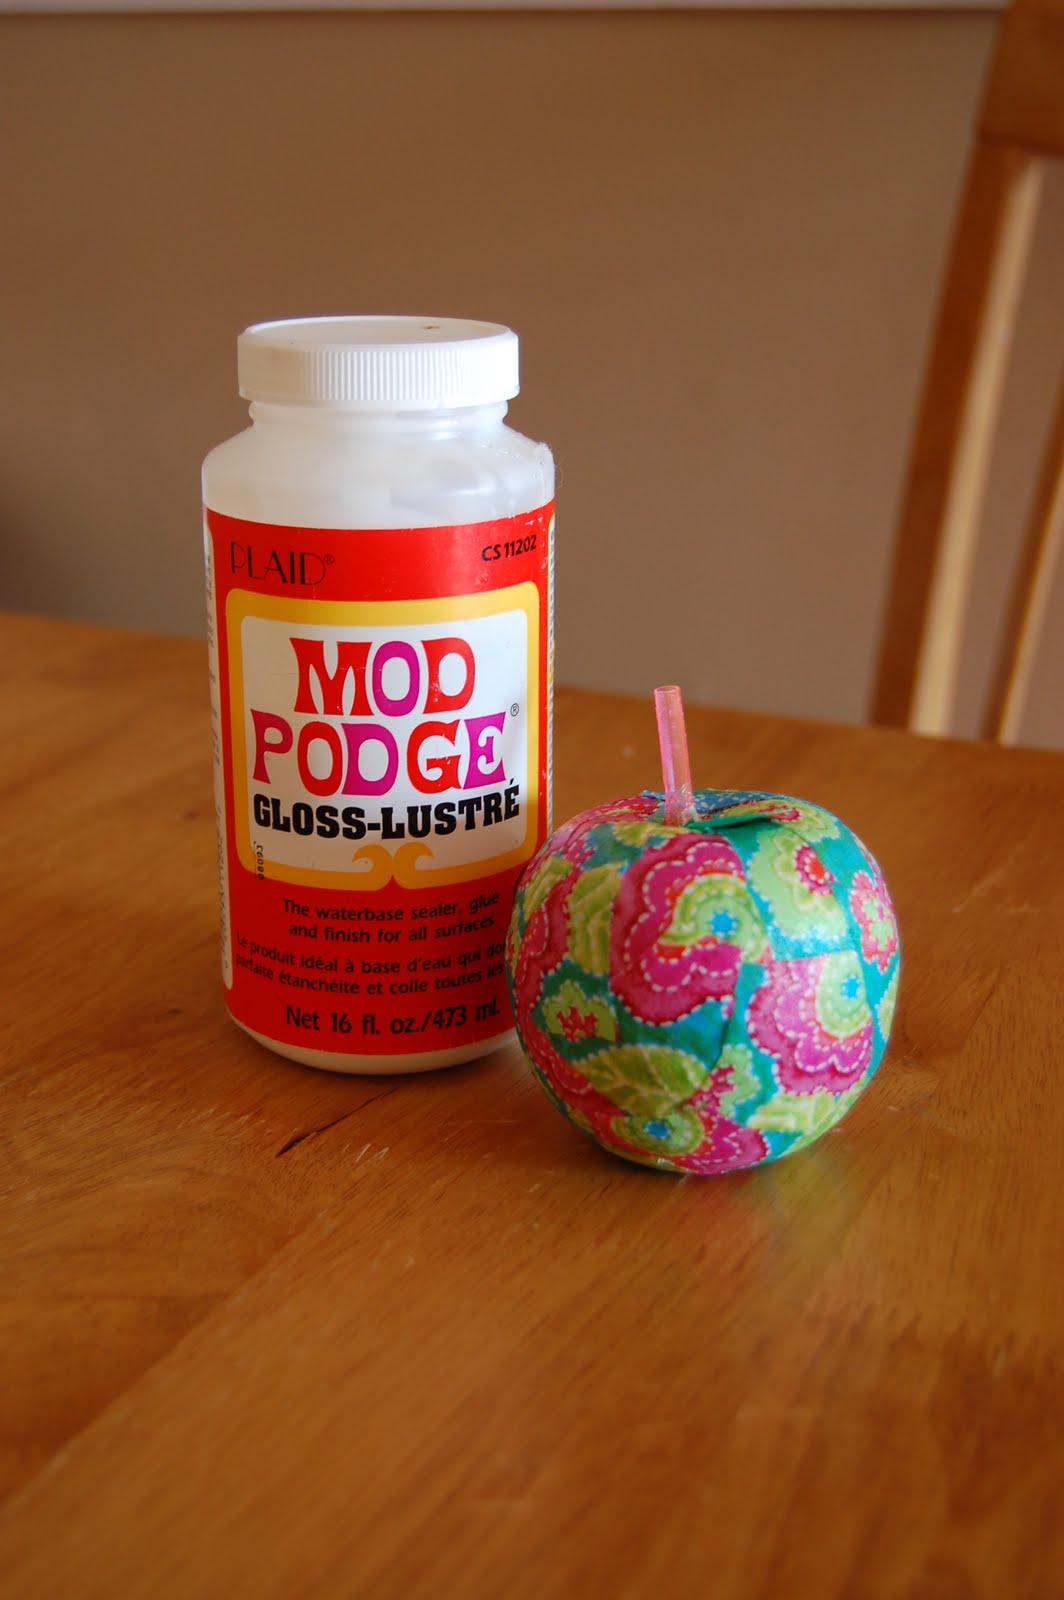
Mod Podge
Styrofoam Apples or Styrofoam apple ornaments (got mine from Dollar Tree)
Fabric scraps
Paintbrush
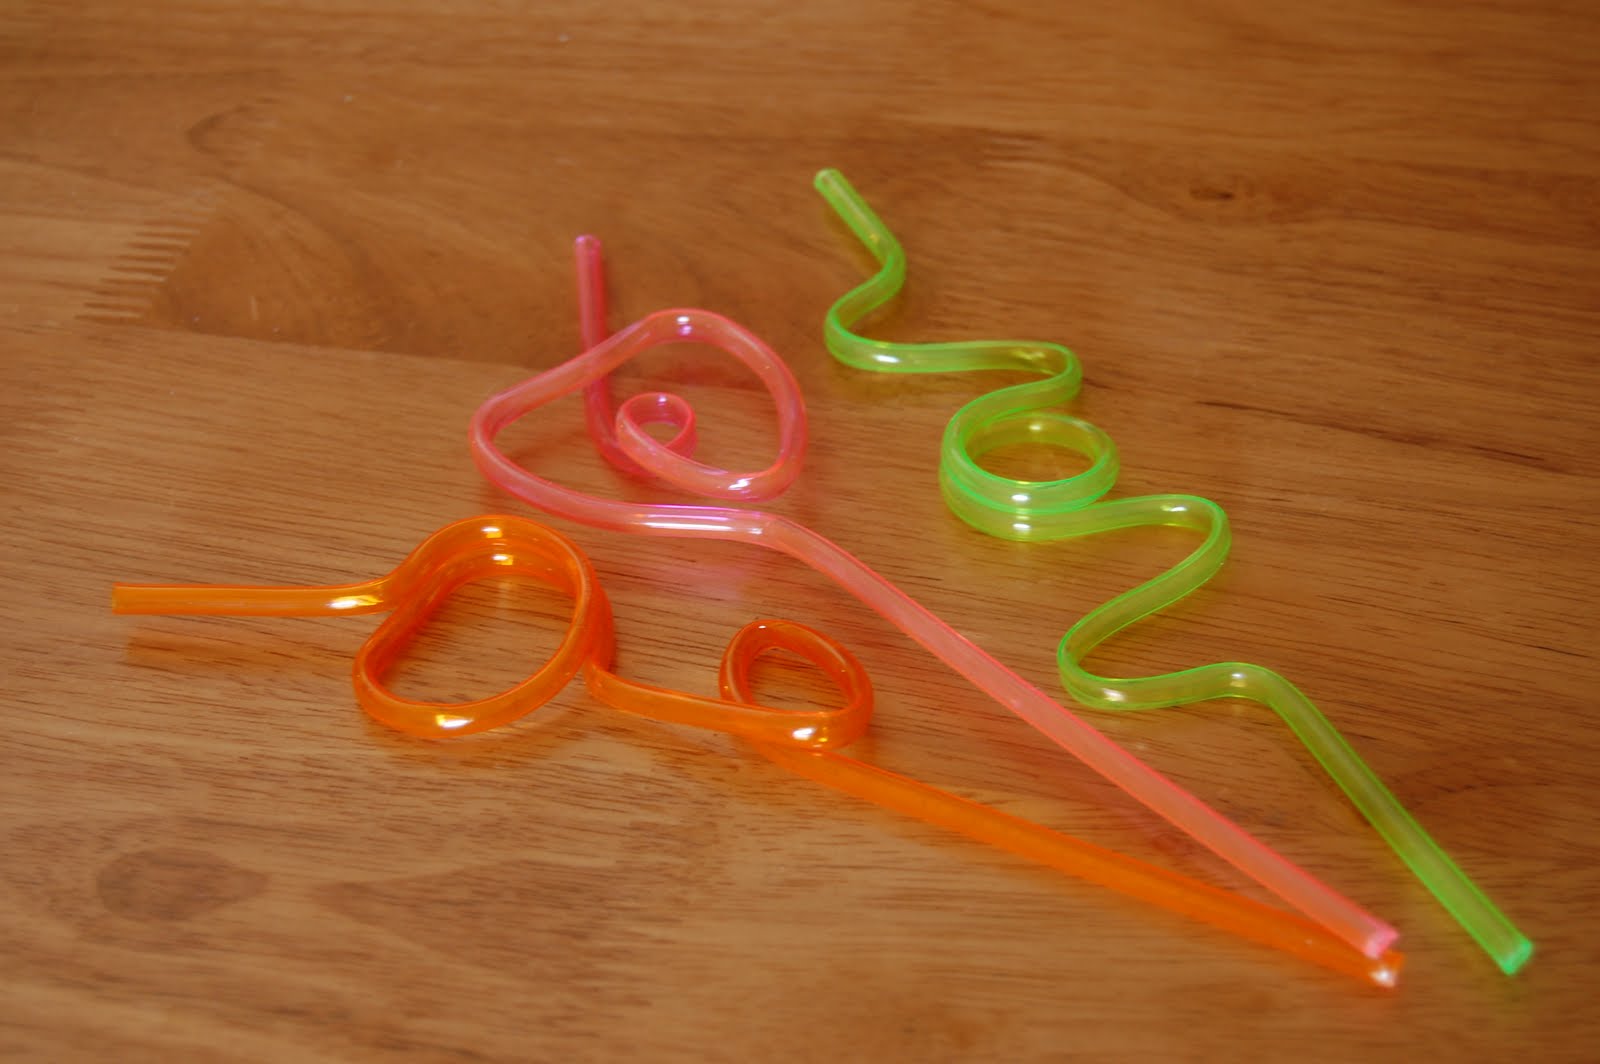
Twirly Straws (the hard plastic kind)
Hot Glue
Let’s start with the ornament. This is the before of my apple. It has clear little beads glued on top of it- so with my hands I just scraped them off. Beware: this is very messy!
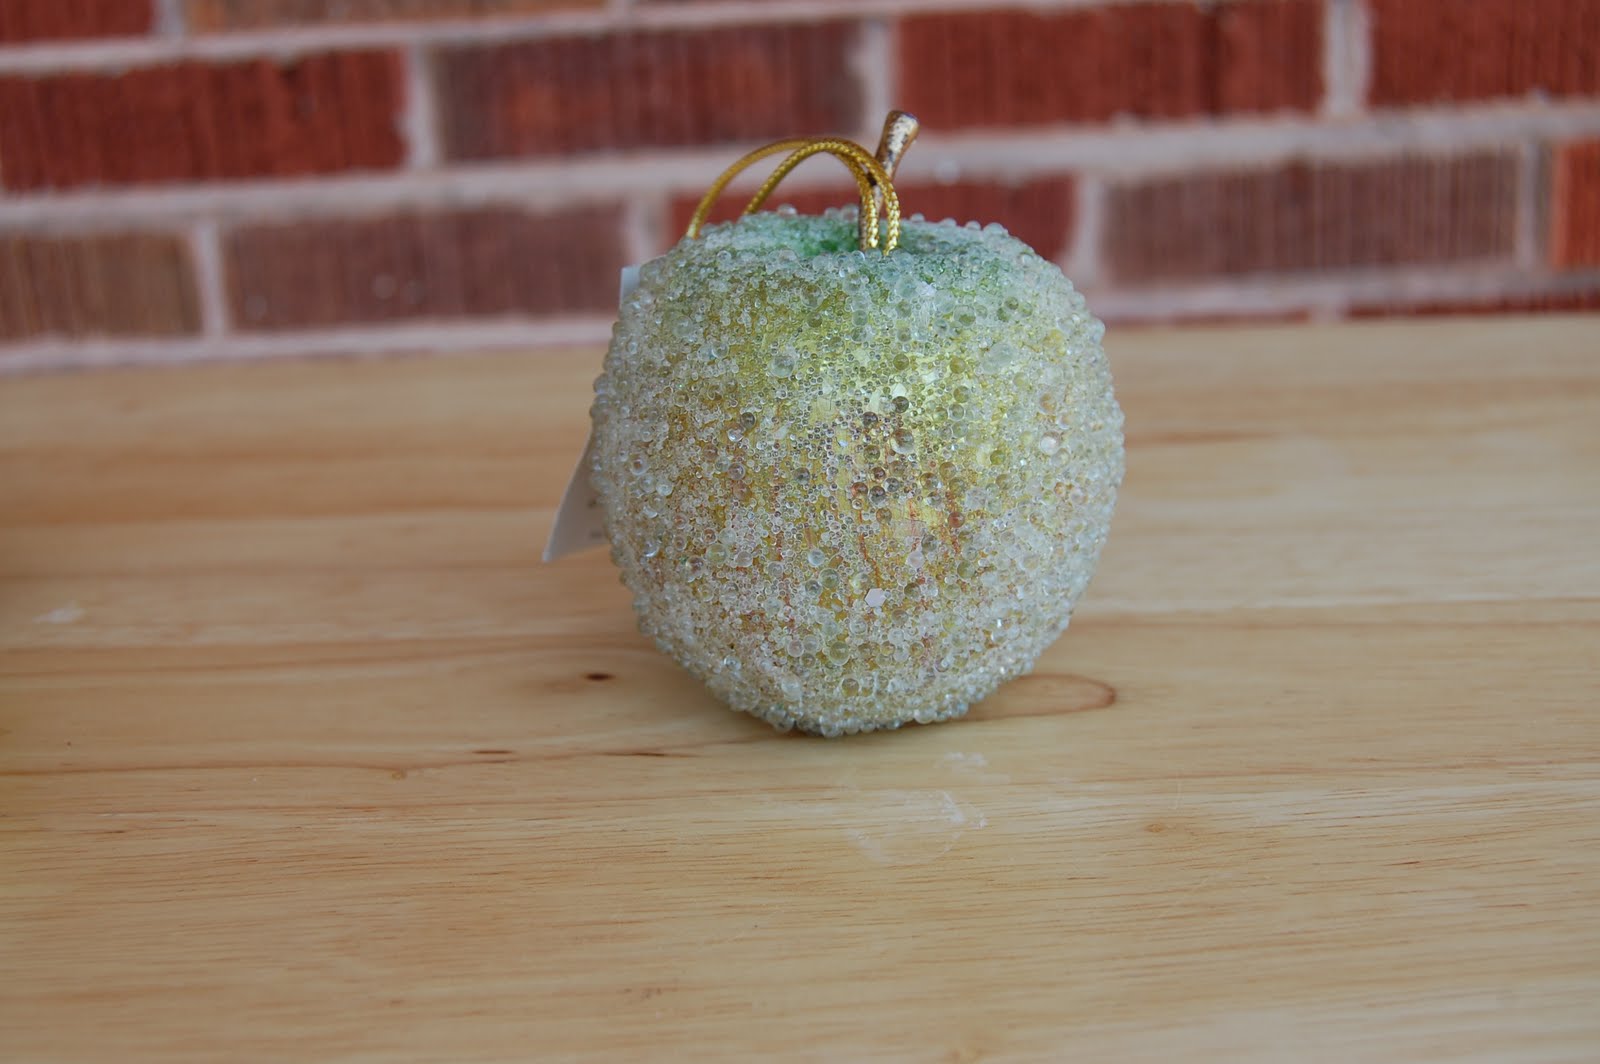
Below is what the apple looked like without the beads. This worried me a bit… but there are better things to come!
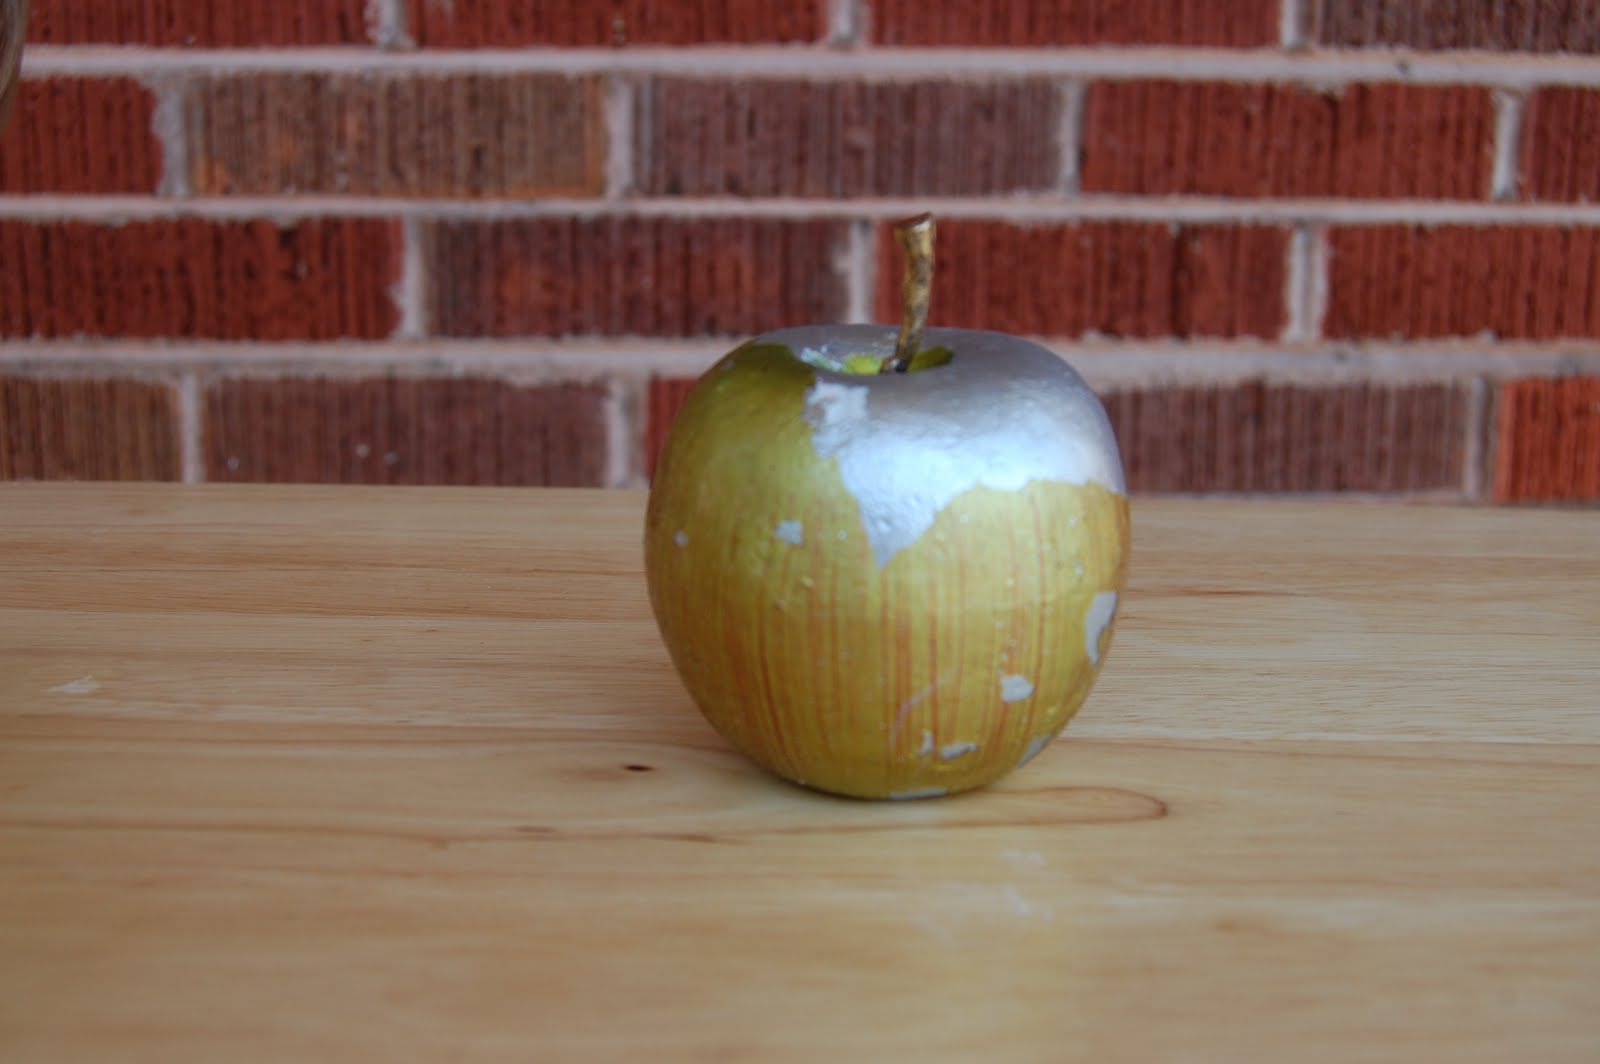
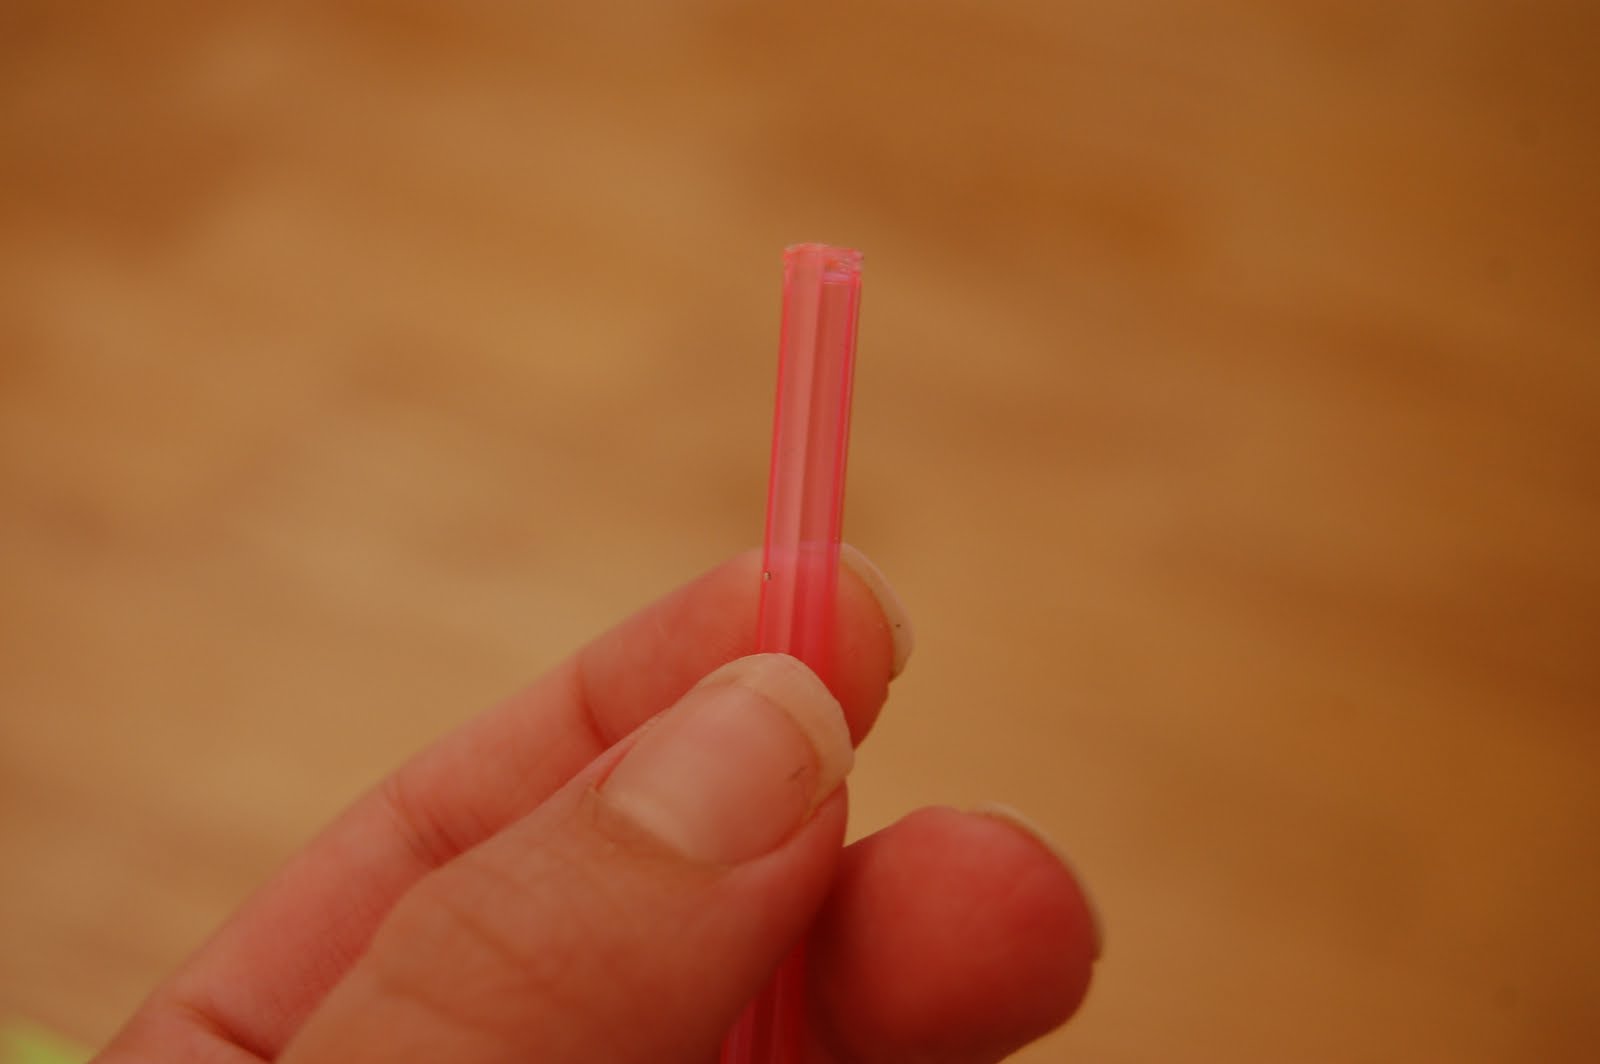
I also took the stem out because it didn’t match my fabric, but you can leave yours in if it matches your color scheme. Next I took the straws and cut the ends off about one inch.
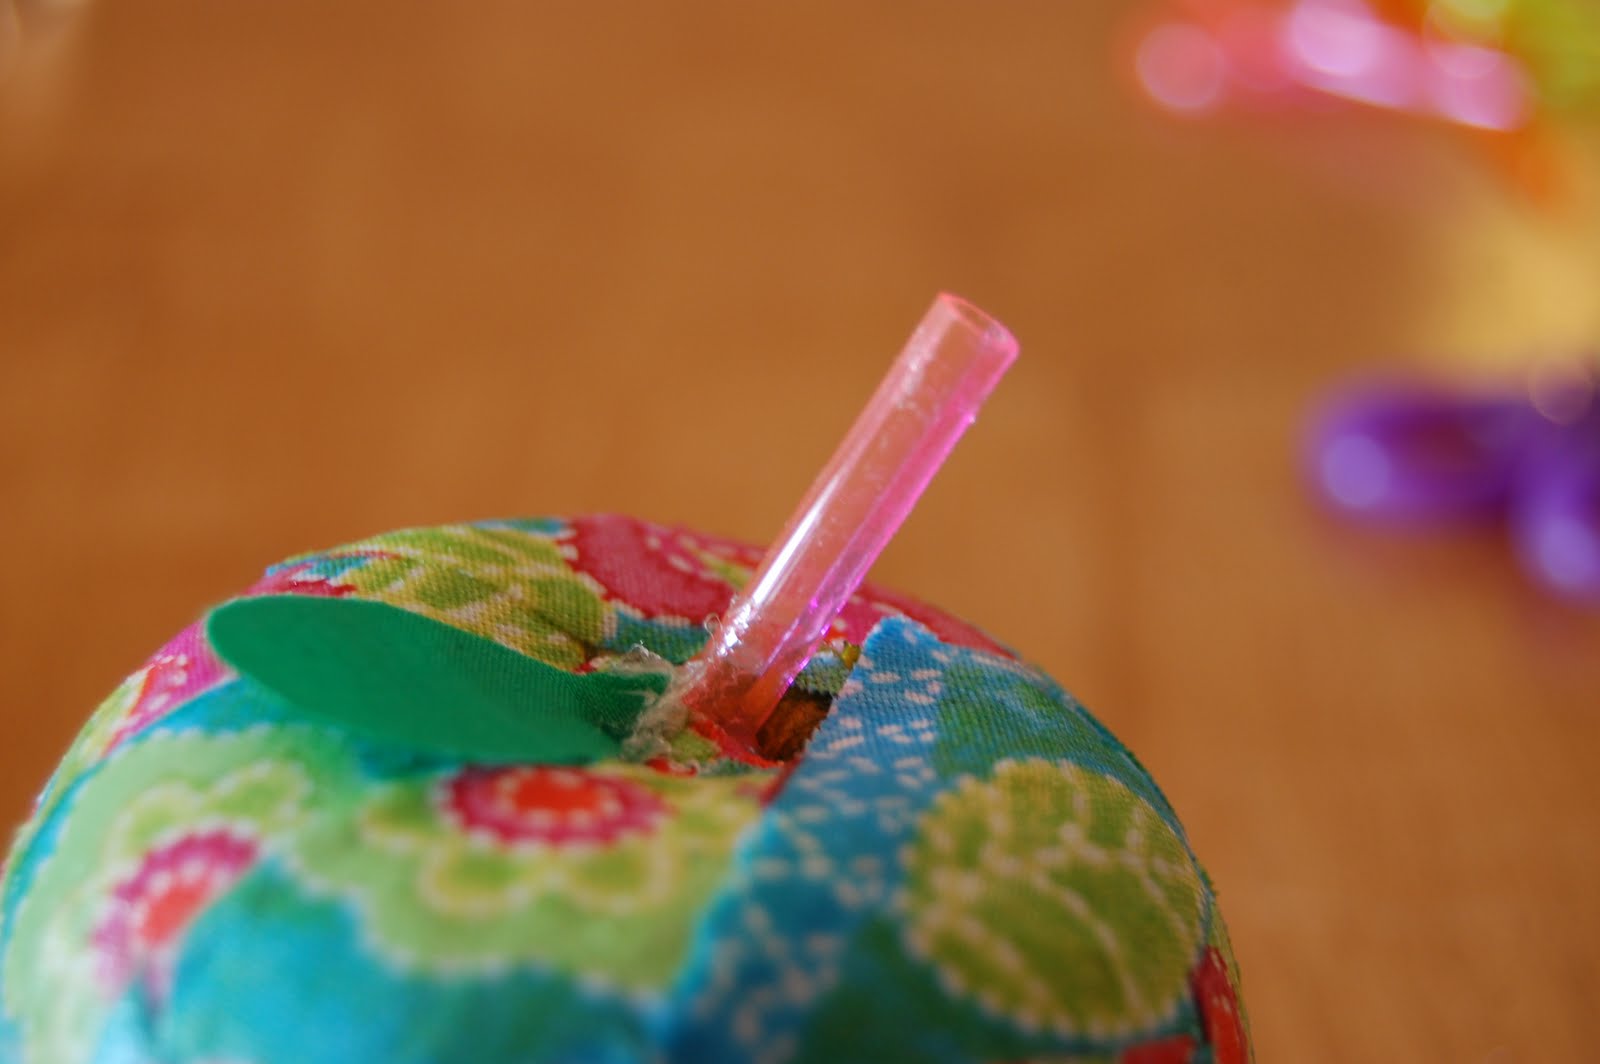
I inserted the straw into my apple and secured with hot glue. (ignore the fact this is the finished project- just imagine it without the fabric!)
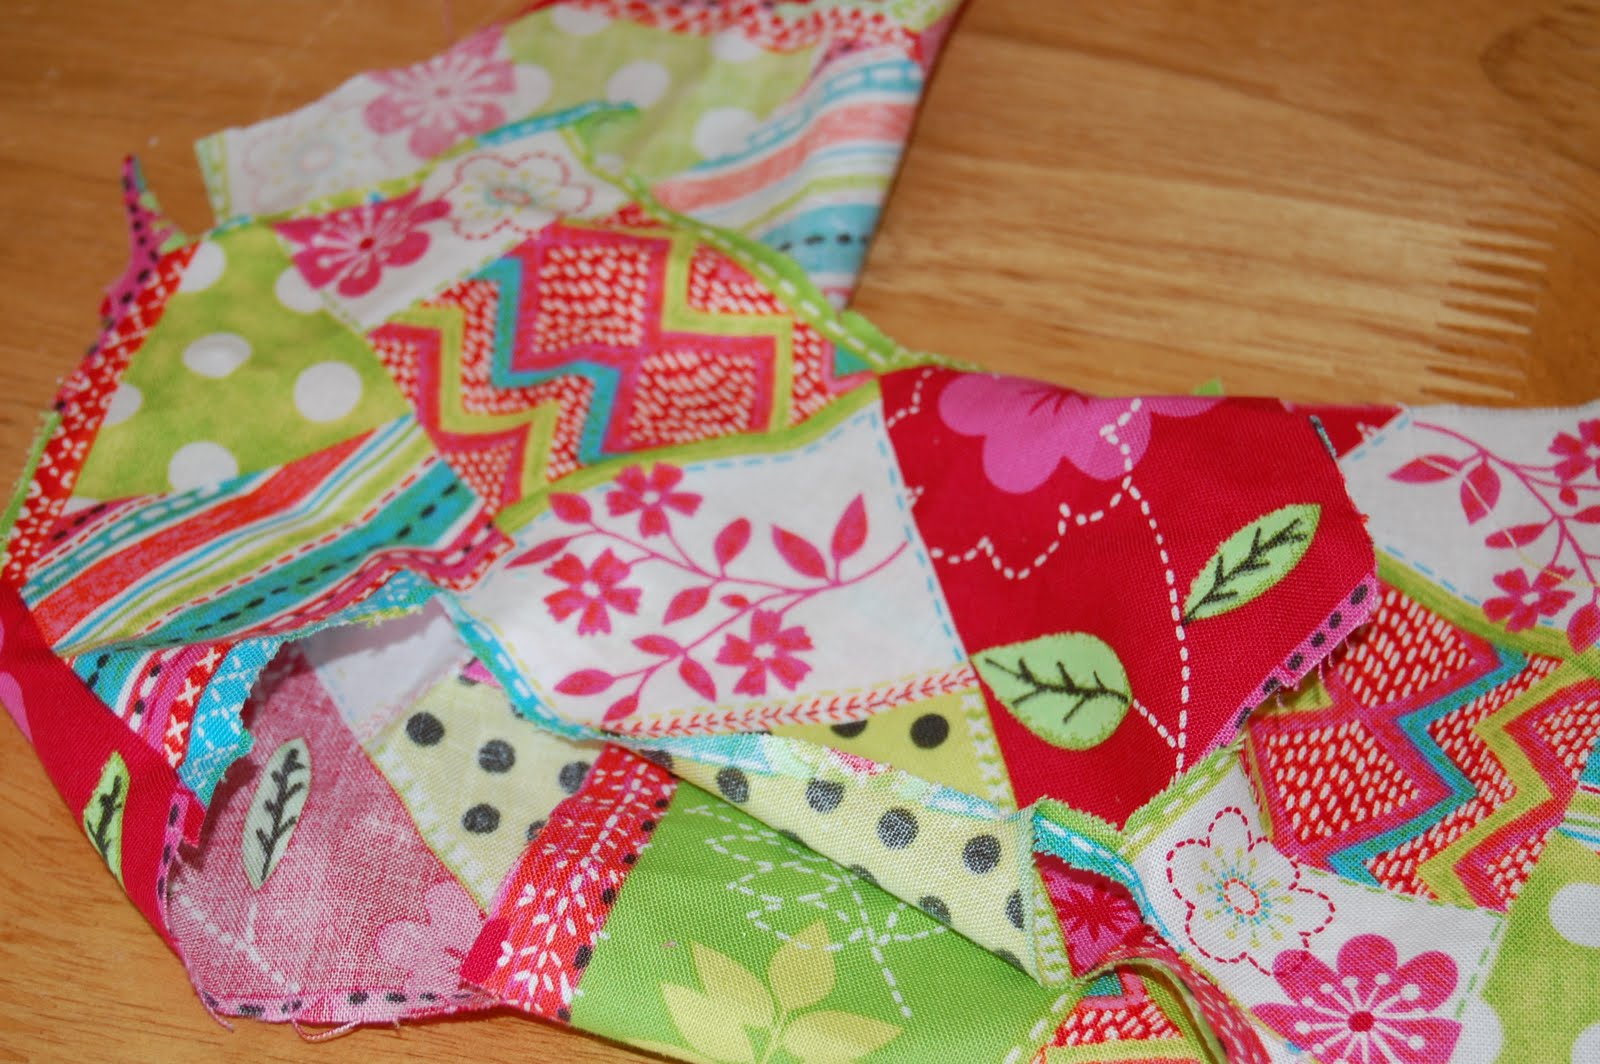
Now comes the fun part. Take your fabric scraps and start cutting them up into 1 to 1 1/2 inch pieces. You will need about 20 of them to cover your apple depending on the size.

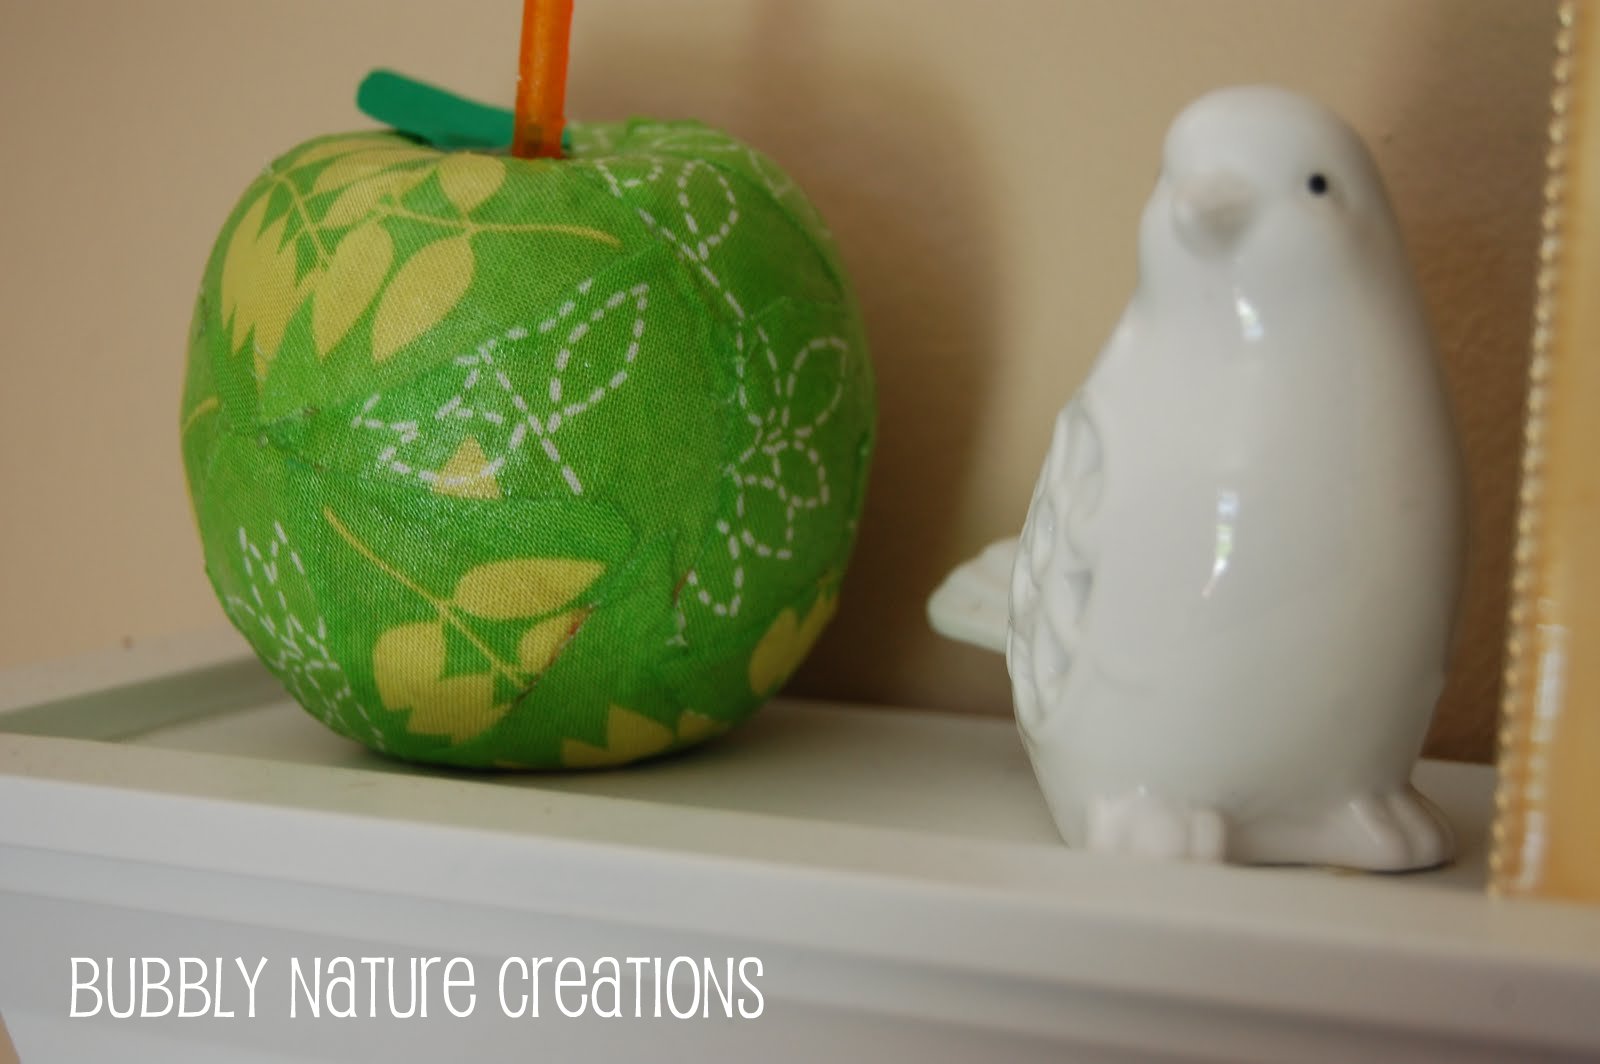
Once you have enough fabric start painting Mod Podge on the back of one piece. Lay the piece where you want it on your apple then press and smooth out the piece. Repeat this process with the other pieces until your apple is covered. After it has had time to dry for about 30 minutes paint the whole apple with a generous coat of Mod Podge. When dry add a little fabric leaf with some hot glue and you’ll have yourself a Dappled Apple!
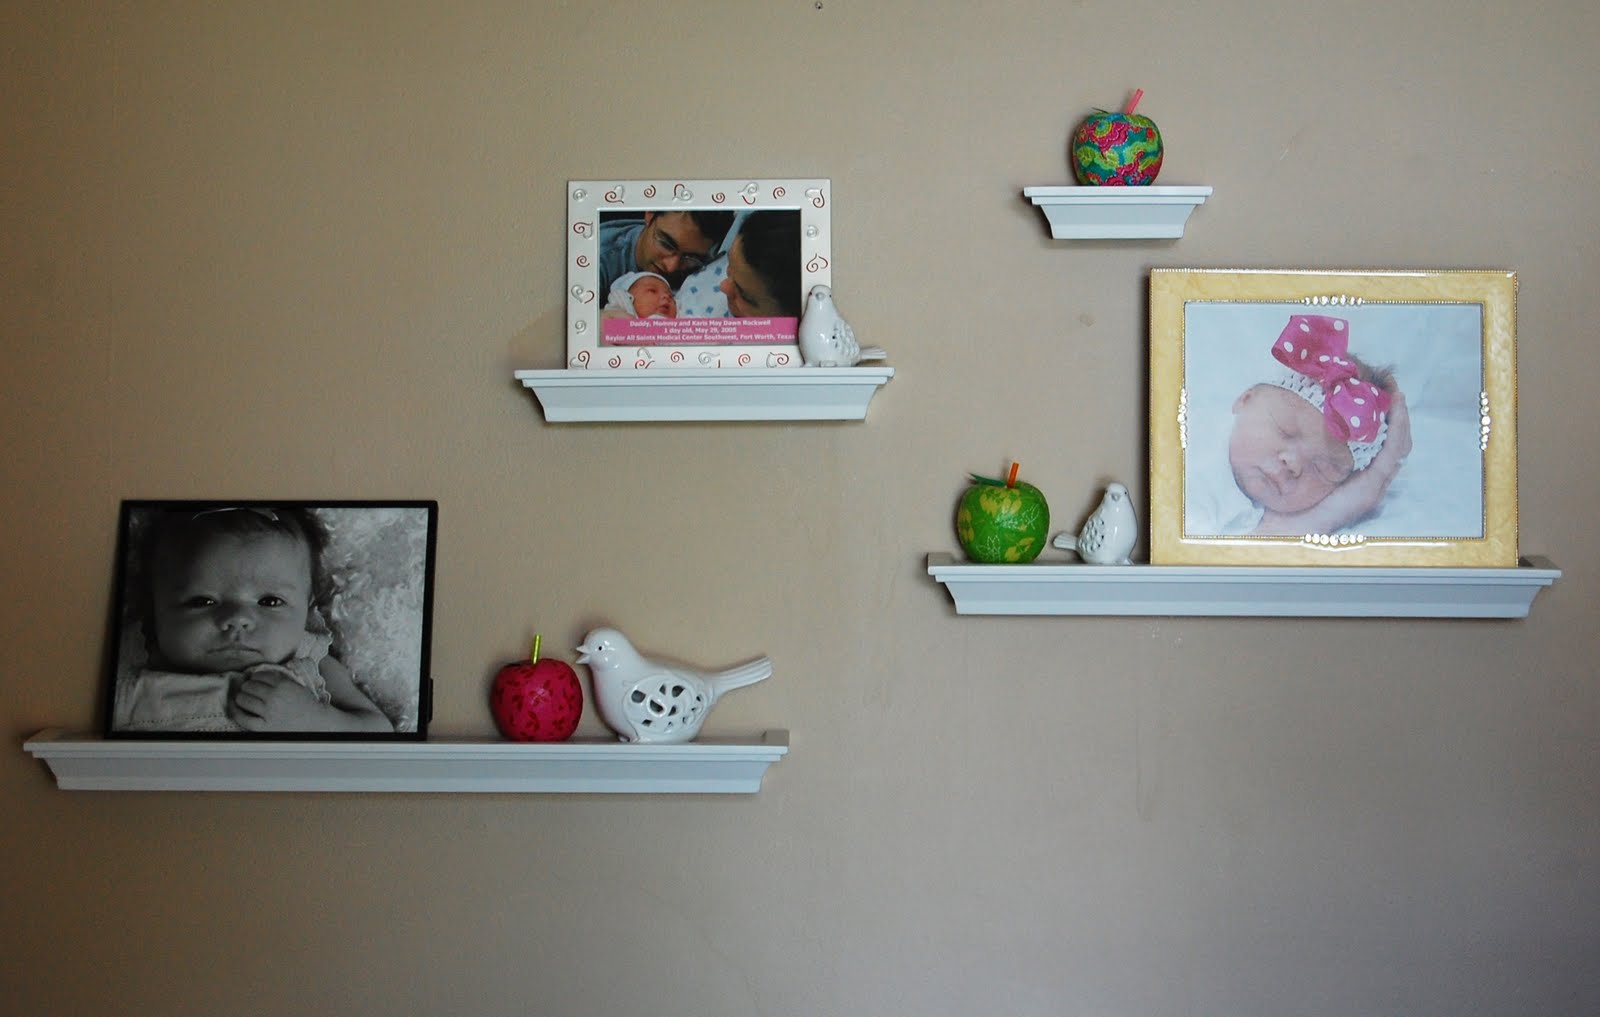
I have these apples on display shelves (right next to pics of the real “apples of my eye”). They would also look great in a little glass bowl, on a wreath or just about anywhere you need a whimsical pop of color!
Happy Creating!
Jill
Friday 10th of June 2011
Super cute! What an excellent way to use up fabric scraps, too. I'm saving this idea for later. :)--JillJillmadeit.blogspot.com
bcriminger
Friday 13th of May 2011
These would make such fun teacher gifts!
Desiree
Saturday 22nd of January 2011
What a wonderful idea, I can't wait to try it!
Taylor {Sew Much Love}
Friday 21st of January 2011
I'm saving these in my projects folder! I love the fabrics you used too! They will look cute in my sewing space! Thanks for the tutorial!
Tammy @ she wears flowers
Friday 21st of January 2011
I think I've commented on these and saved them before, but I love, love, love them!! Love the new look on your blog, too!